Making, hacking, breaking, and (sometimes) fixing. Replaced by newer, better, faster nerds.
Posted on - Discuss on Twitter - See project on Github
Tags: Hardware
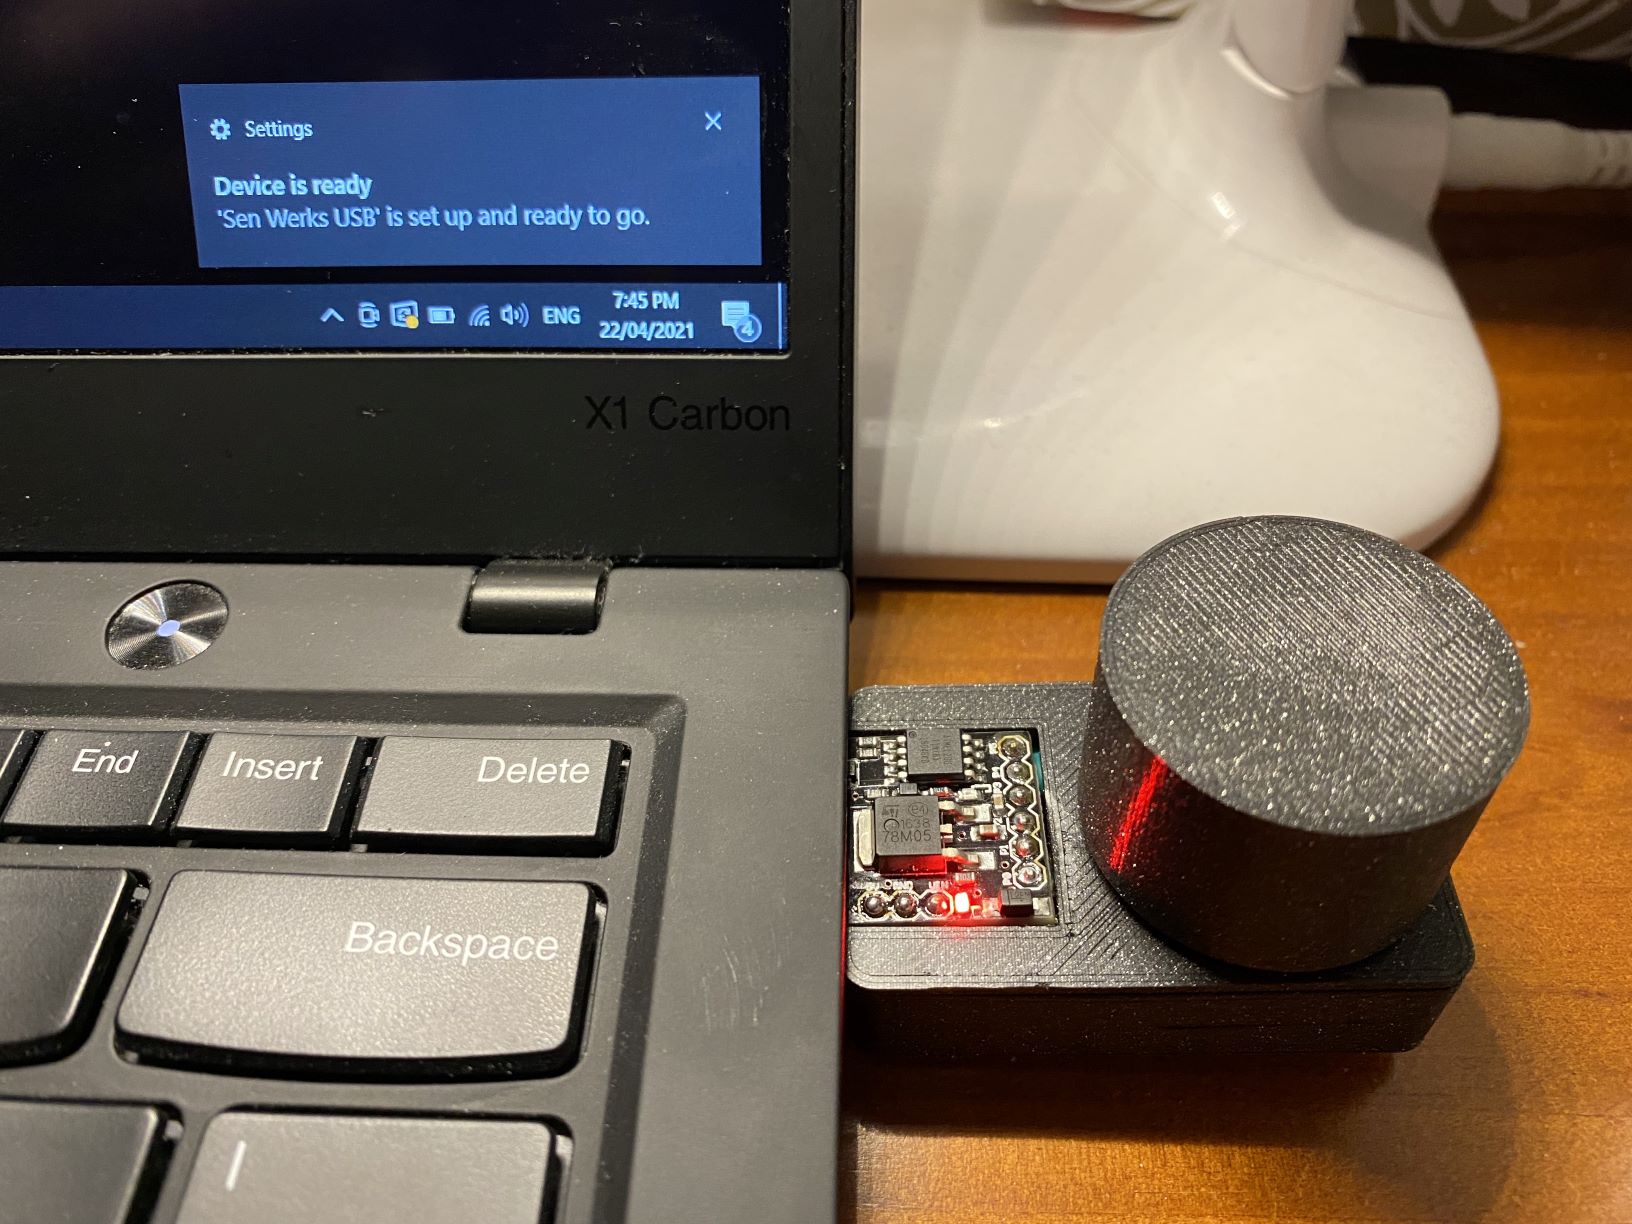
My mechanical keyboard doesn’t have media keys for volume/mute and while it’s possible to map key combos to do the job, I’ve always preferred the tactile feedback of physical volume knobs. After making various other USB HID devices like a “real” analog USB handbrake for my racing sim and my arcade button macro board for keyboard shortcuts, I figured making a volume knob should be easy enough. As is usual for me, I spent a solid evening looking up USB HID standards for media keys on standard desktop/laptop keyboards and got a prototype working using some very hacky code… then while doing some different searches on getting the Adafruit rotary encoder to work I came across Adafruit’s own tutorial on making exactly this project, complete with fully working code for my exact encoder… typical.
It’s a very basic project overall, suitable for beginners with only a few wires to solder and some copy/paste code with no modifications required (unless you change the pins used). The part that took the longest was designing the enclosure as I had a very specific goal in mind. I wanted it to be as small as possible, plug directly into my laptop or into my PC via a USB extension cable, and show off the Digispark. I’ve also been playing with designing/printing enclosures that click together so that everything can come apart again later if a component needs replacing, rather than my old “just add more glue” approach.
The below is a copy/paste from the Github repo:
Digispark Volume Knob
Physical rotary volume knob using a Digispark and rotary encoder, via USB HID standard media controls.
Plugs into any PC/laptop or any other USB device that accepts standard media controls (like the media keys on your generic keyboards), and translates the rotary knob into volume up/down, and clicking the knob as mute/unmute.
Ingredients
- Digispark (or any similar Attiny85 board)
- Rotary Encoder
- 3D printer, wire, soldering gear, a table, probably a few snacks, etc.
Instructions
Print the 3 STLs in the repository: Chassis v1.stl, Knob v1.stl (unless you’re using the knob that came with the encoder, but I preferred my minimal design) and Lid v1.stl.
Mock the parts up inside the chassis to get an idea for wire lengths, then solder it all together outside of the chassis for better access. Check the encoder’s Data Sheet for pinouts if you’re not sure, but the general idea is:
- Encoder channel A to Digispark pin 0
- Encoder channel B to Digispark pin 2
- Encoder common to Digispark pin GND
- Encoder switch pin 1 to Digispark pin 1
- Encoder switch pin 2 to Digispark 5V

The code to load onto the Digispark is just the Adafruit “Trinket USB Volume Knob” code, as their Trinket uses the same Attiny85 chip as the Digispark so they’re 100% compatible. If you know what you’re doing, you can copy/paste the code from my repository (don’t forget to add the “TrinketHidCombo.h” library before compiling) or if you need more details, follow their tutorial here and make sure you use the extra code from the “Add a Mute Button” page if you got an encoder with clicky switch.
I then used a bit of 3M double-sided tape to stick the encoder to the chassis piece and keep it stable (yet still be able to peel it off if it fails and needs to be replaced), or you could use hot glue, and then crammed all the wiring in:


The lid clicks onto the chassis (and is easily removable for repairs later), and then the knob clips onto the top of the encoder. NOTE: You might need to print the knob at 102% size if it’s a bit too tight on your encoder, depends on your printers tolerances.
Depending on your laptop/device you can plug it directly into the USB port, or I use a small USB extension cable from my PC to have the knob sitting directly to the right of my mouse for easy volume adjustments.


