Making, hacking, breaking, and (sometimes) fixing. Replaced by newer, better, faster nerds.

Posted on
Tags: Hardware
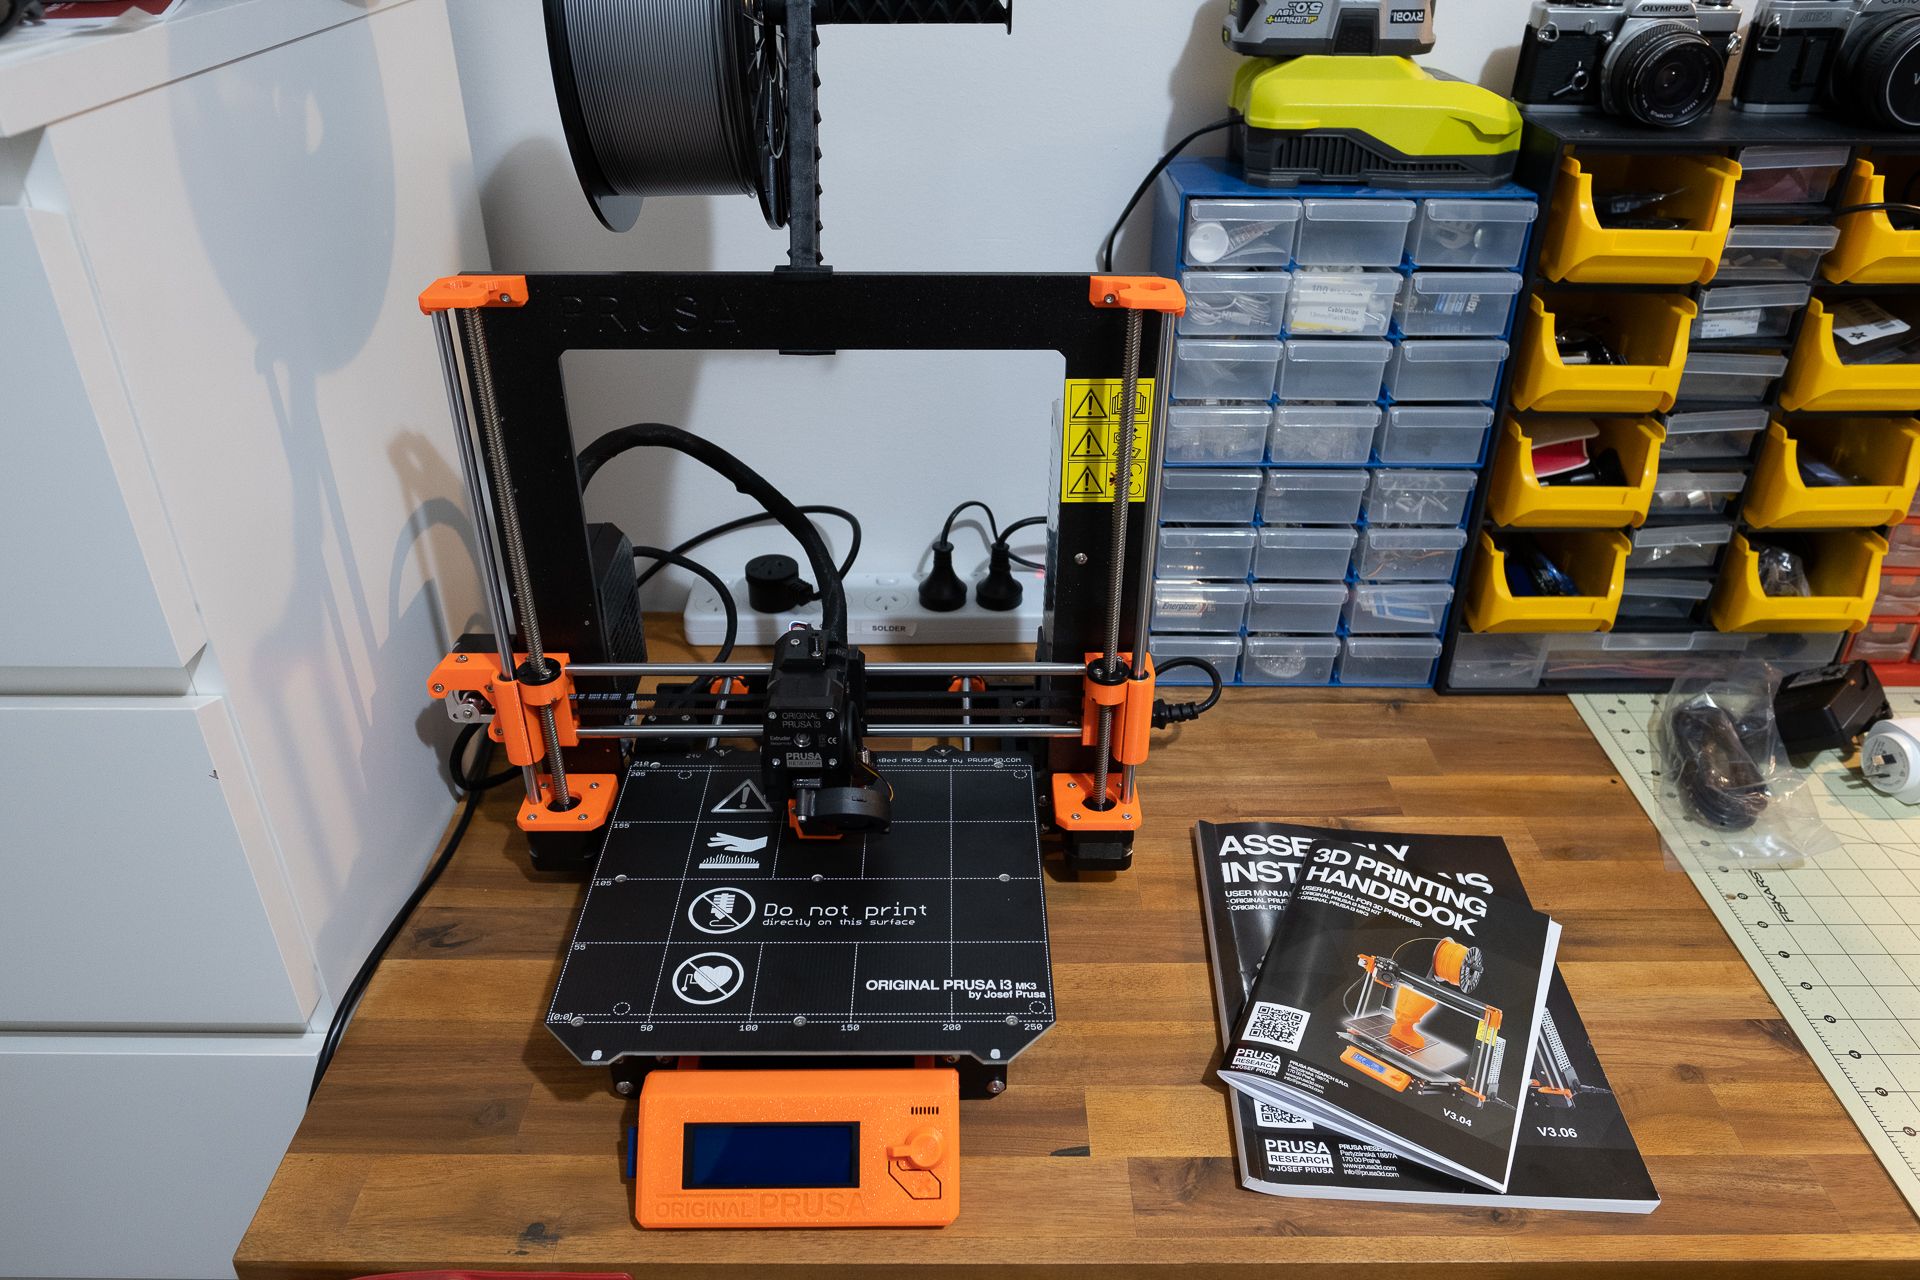
After years of following the hobby, reading all the subreddits, dreaming and wishing… I finally decided which printer I wanted, and decided to take the plunge. We’d just moved into our new house and I finally had a room just for my workshop and computer stuffs, and it was Christmas, so a quick note to Santa (and some ridiculous Customs Fees) and it arrived.
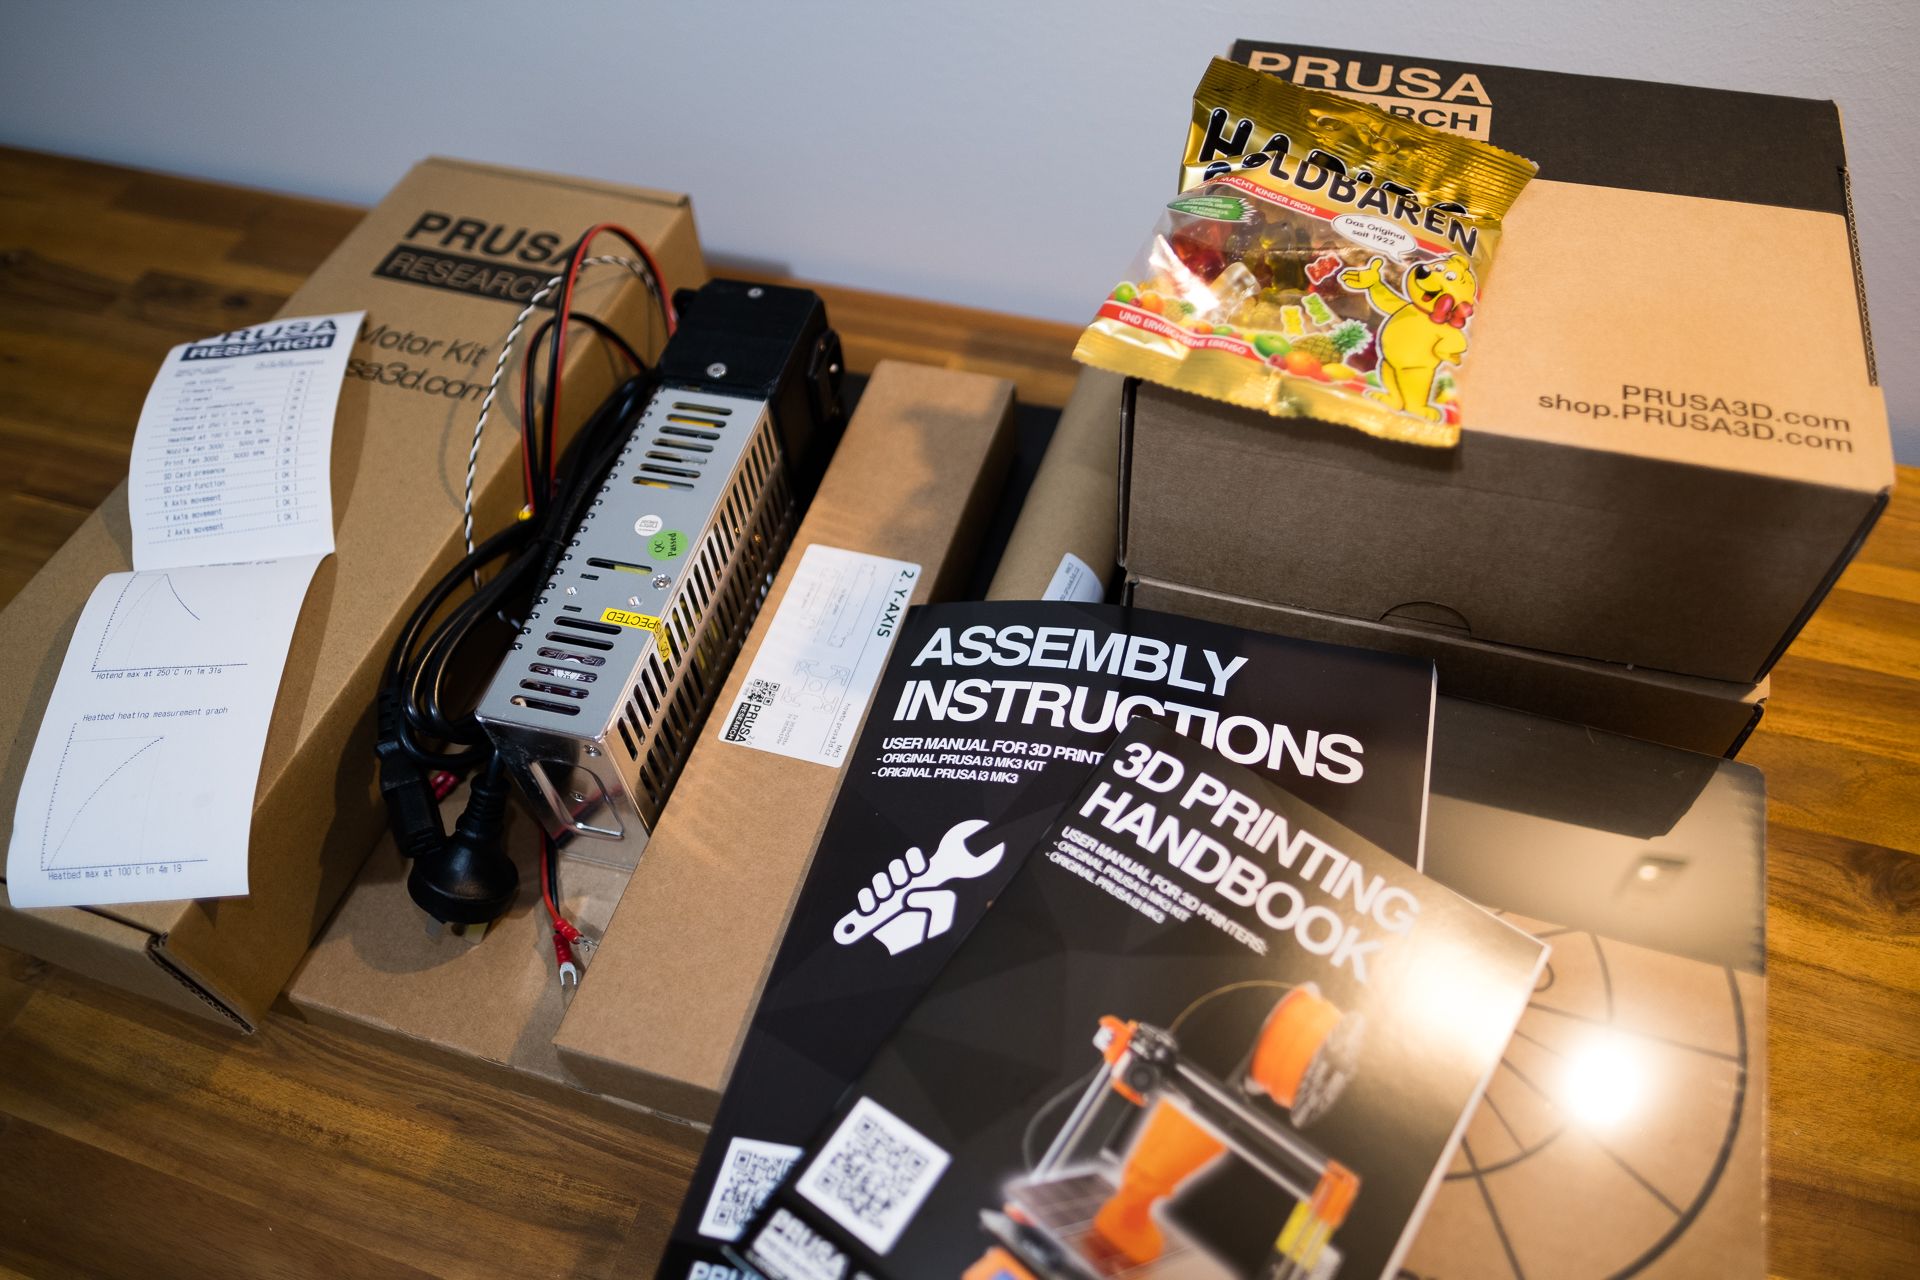
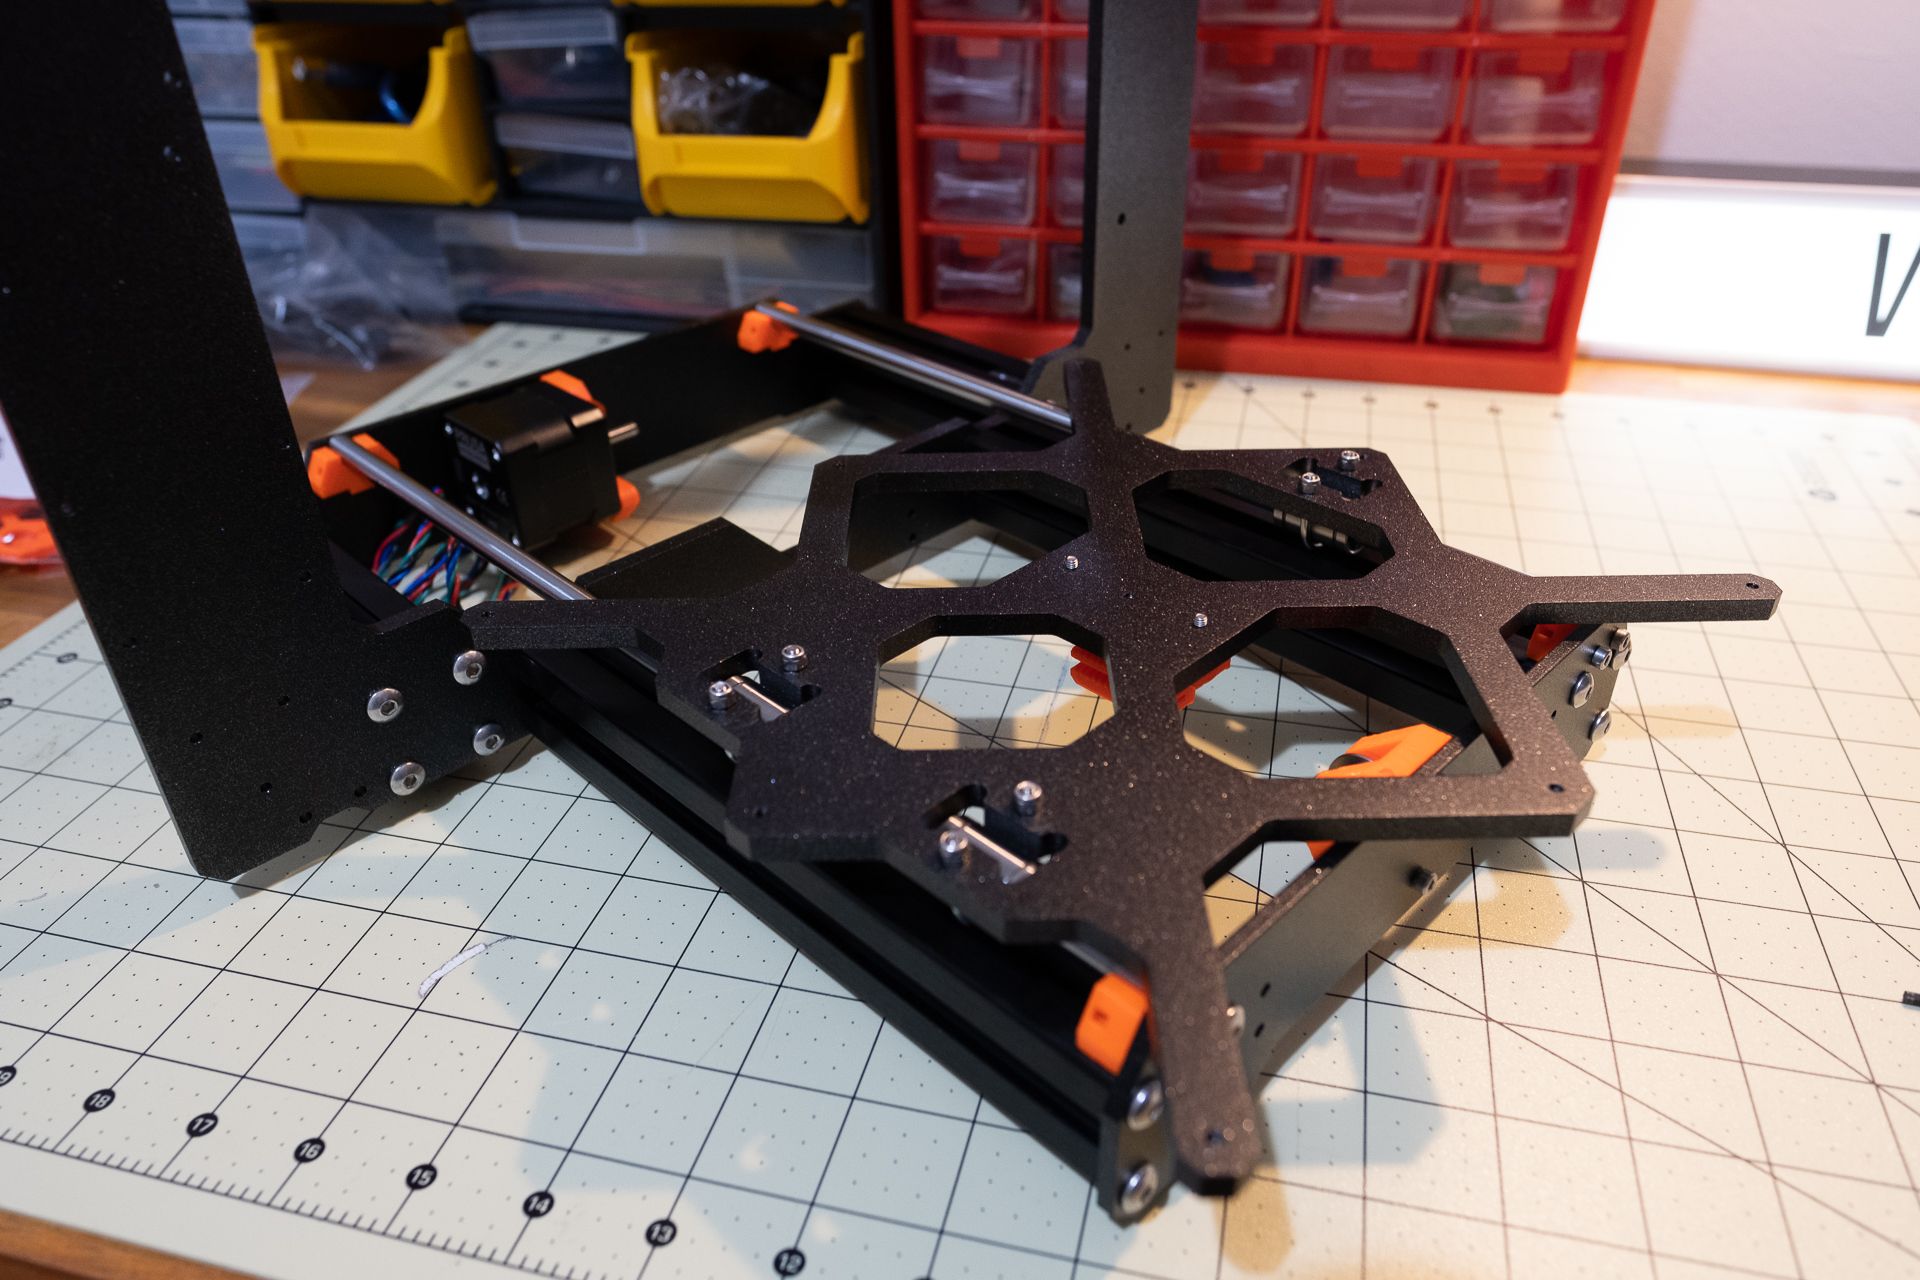
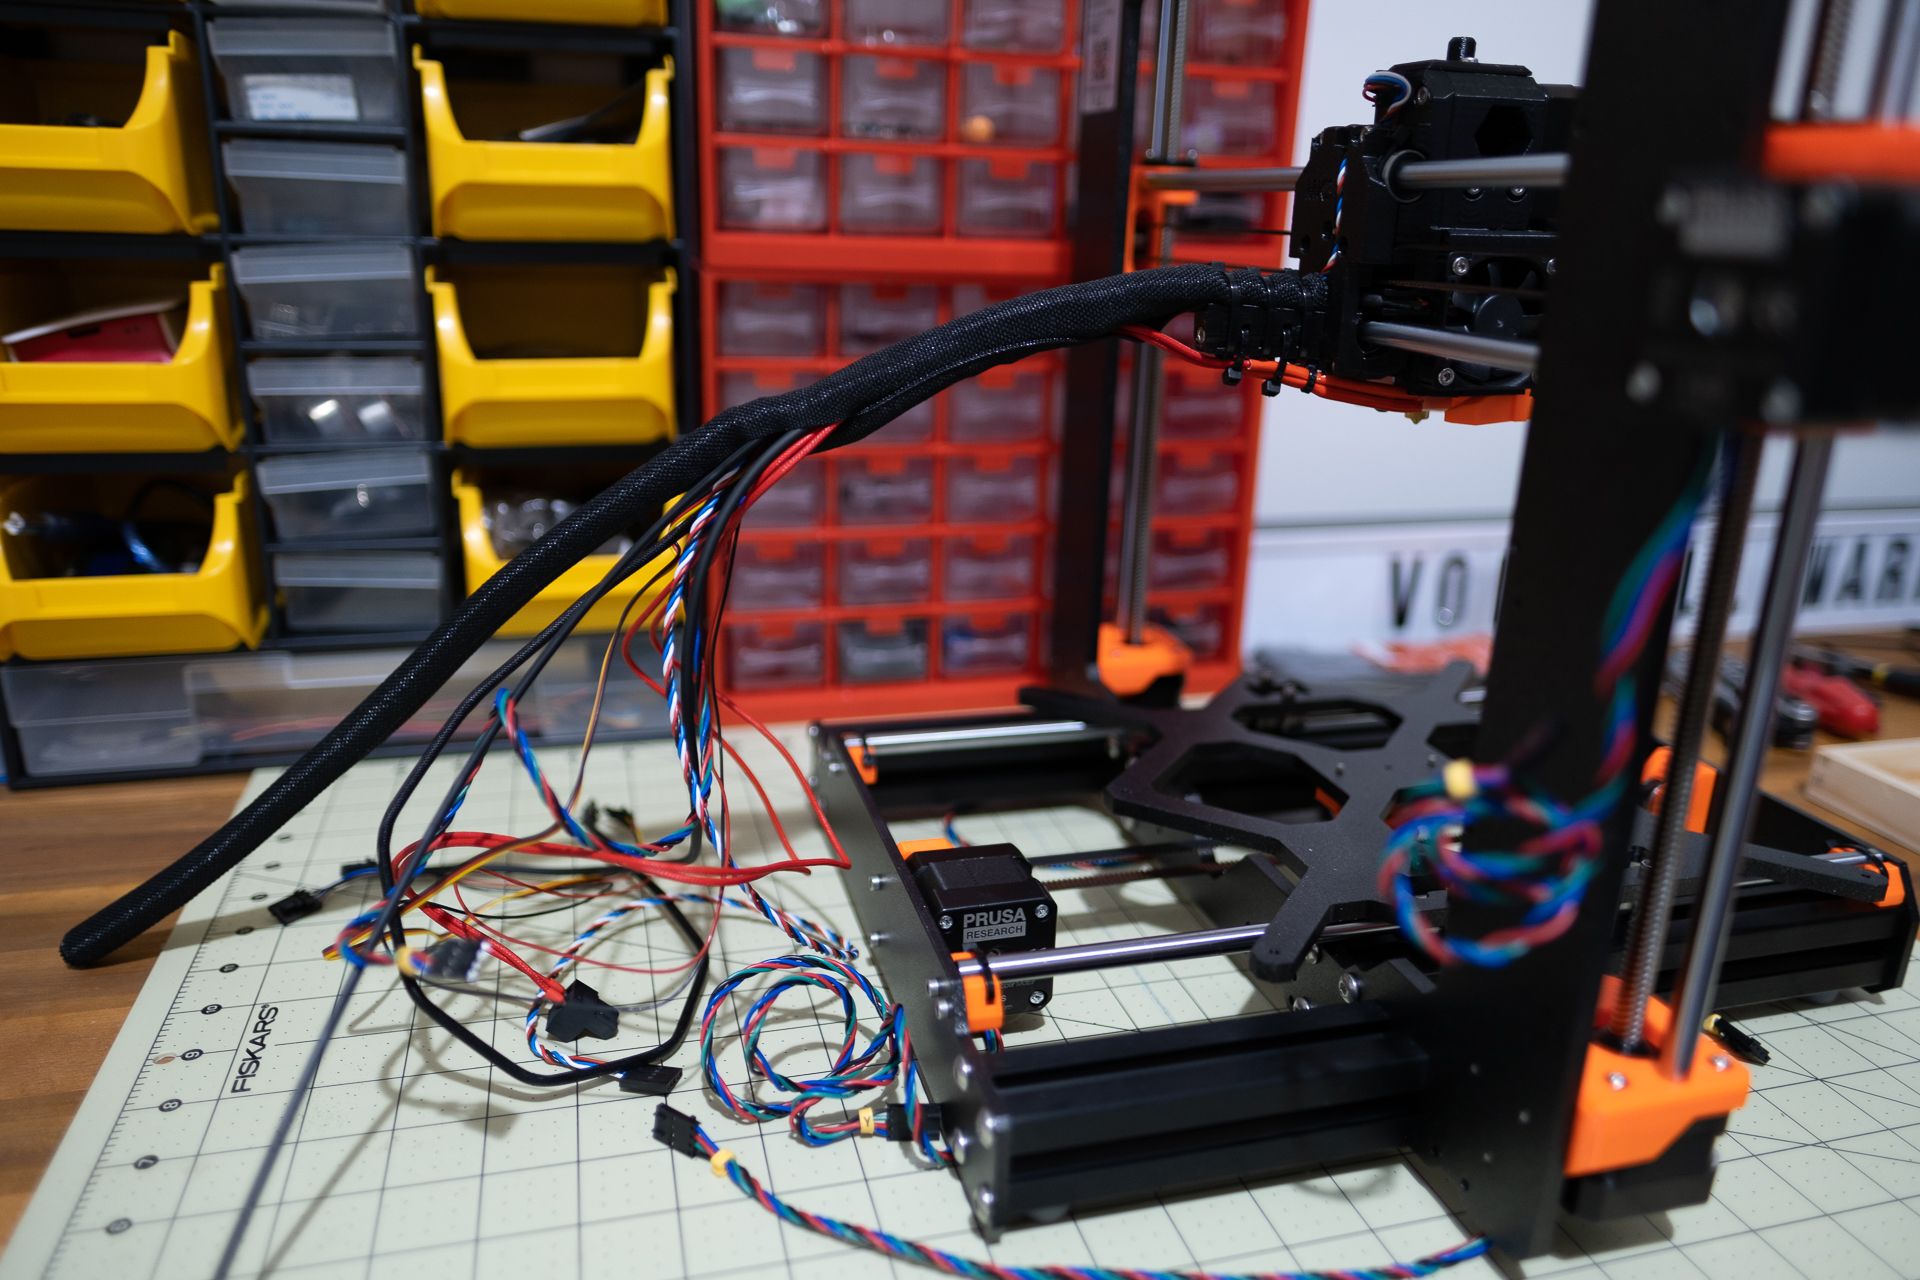
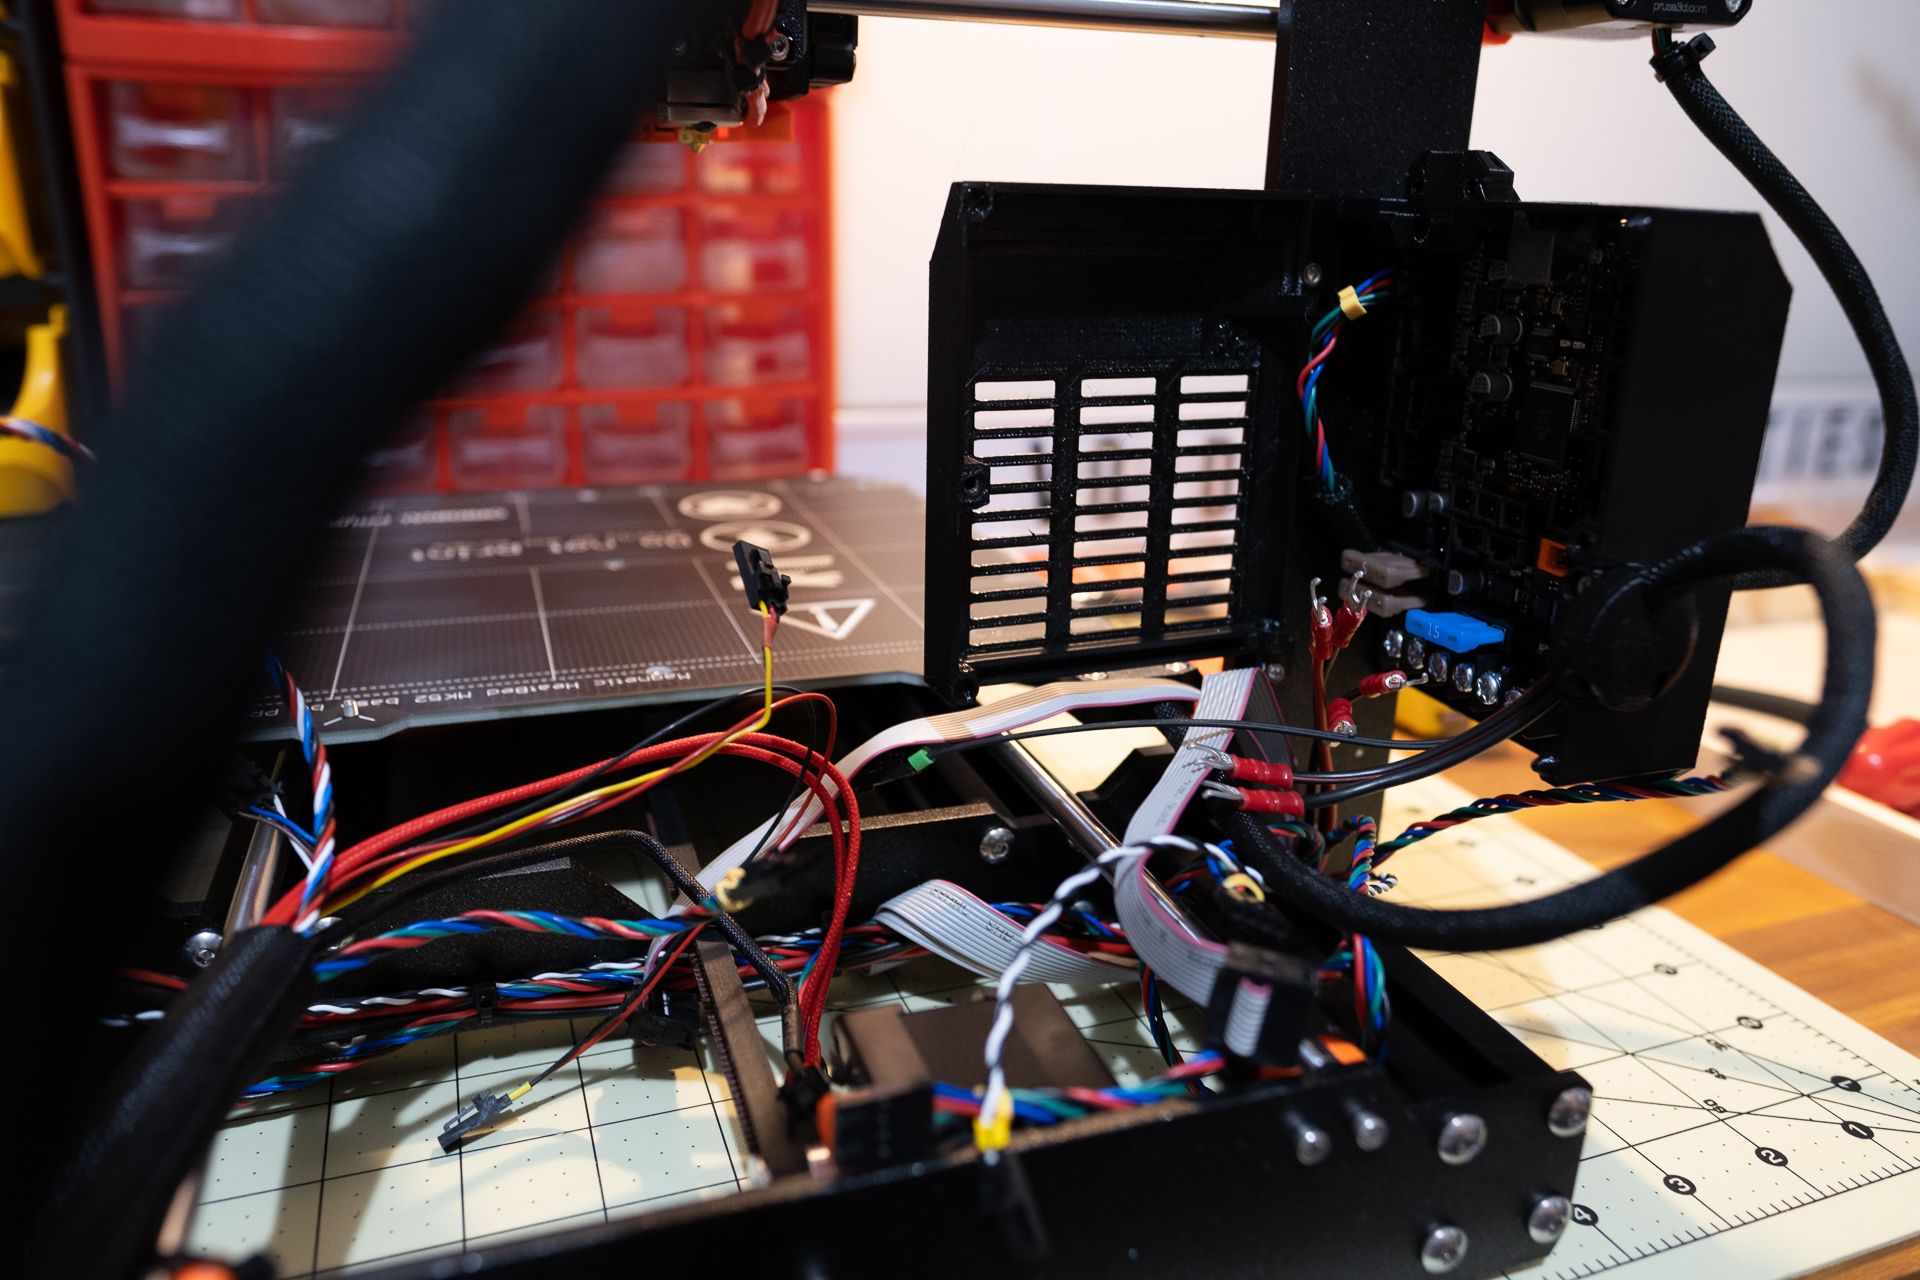
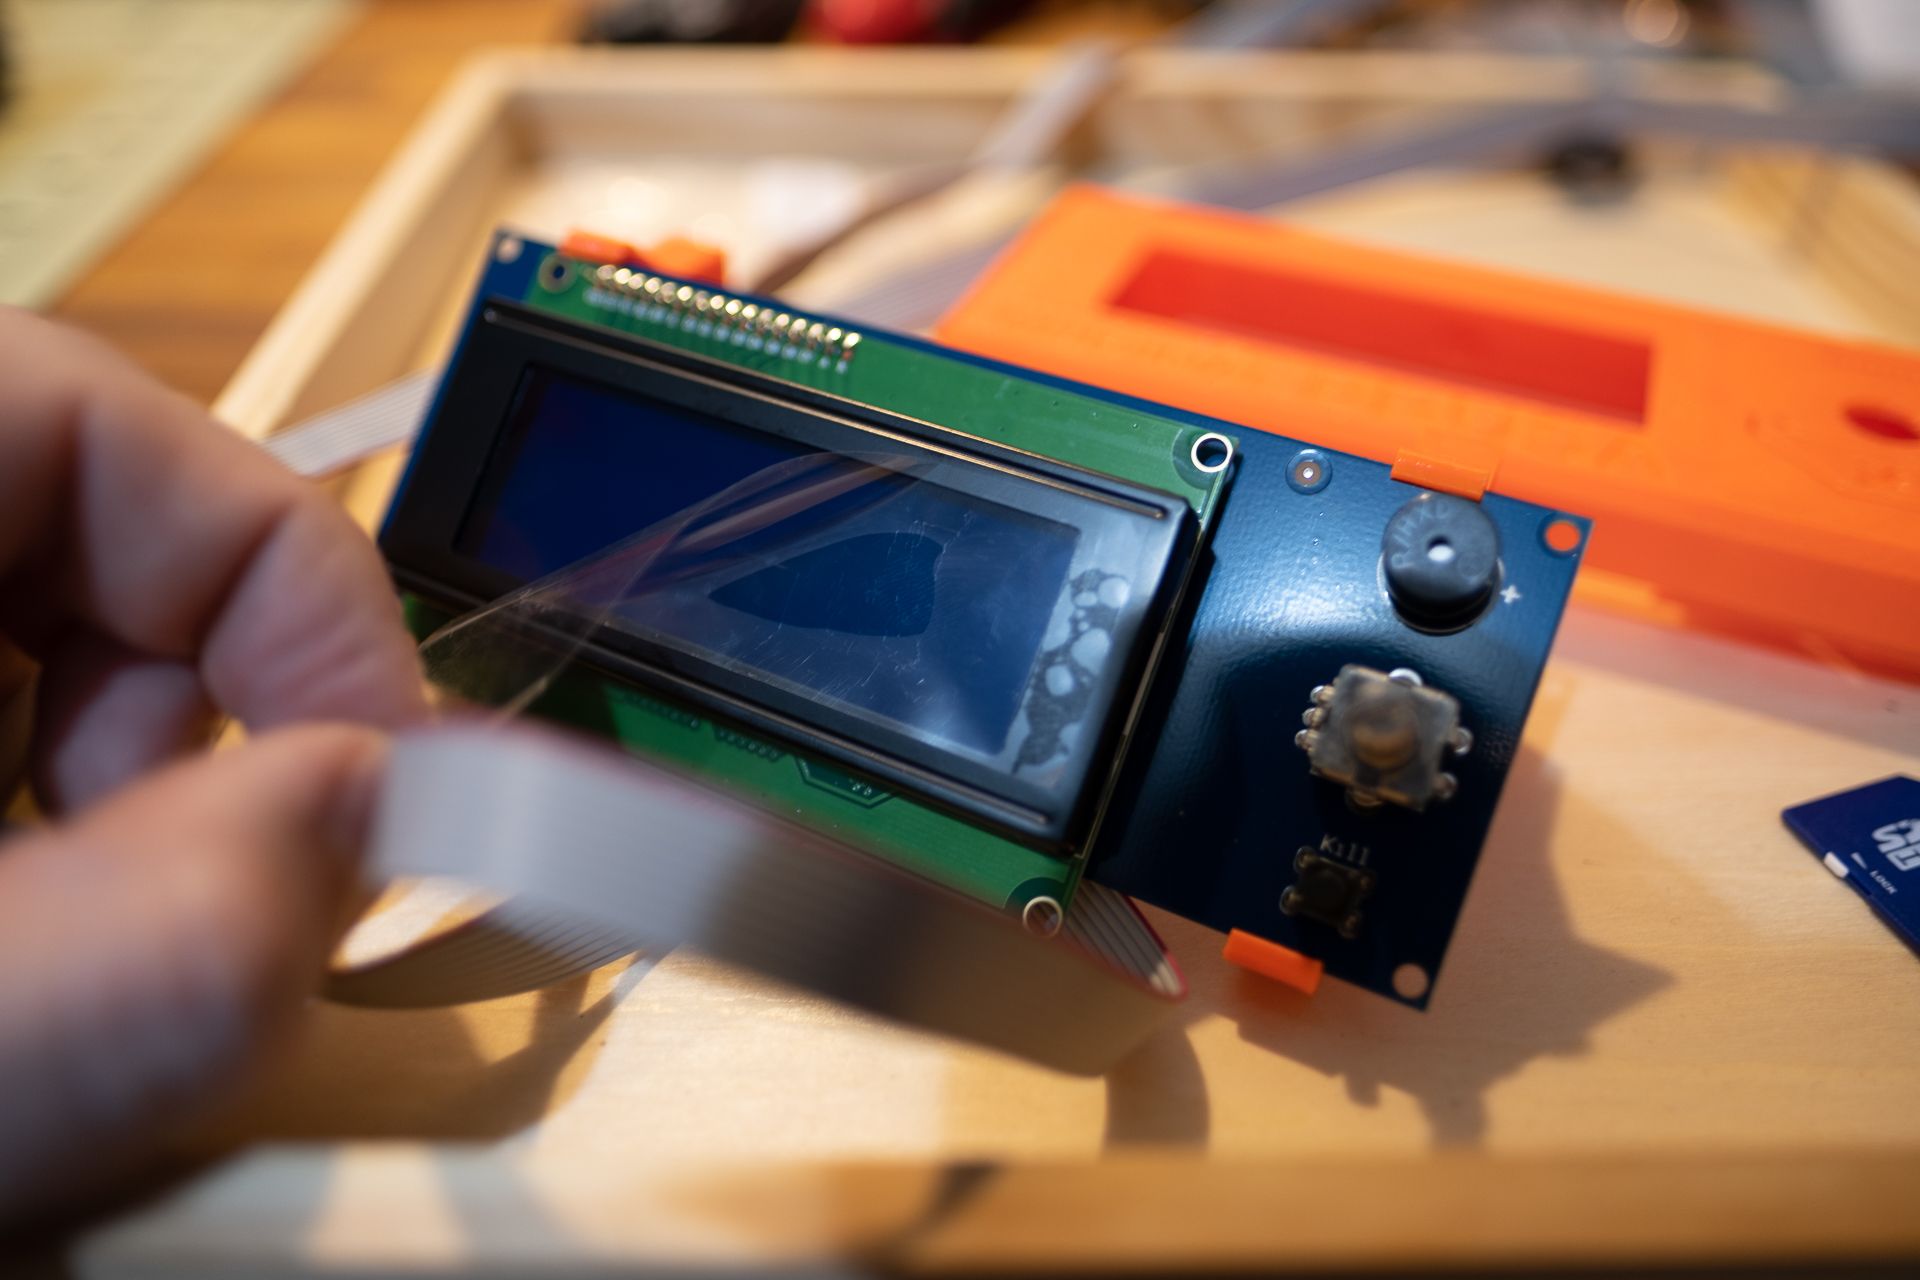
The build went perfectly smoothly and had the highest quality instructions I’ve ever had, with any kit, ever. Seriously. Kudos to the Prusa team, because despite being a relatively complicated build, the instructions made it as straight forward as a Lego or Ikea build, if not even better due to detailed photos and online high-res versions for every single step.
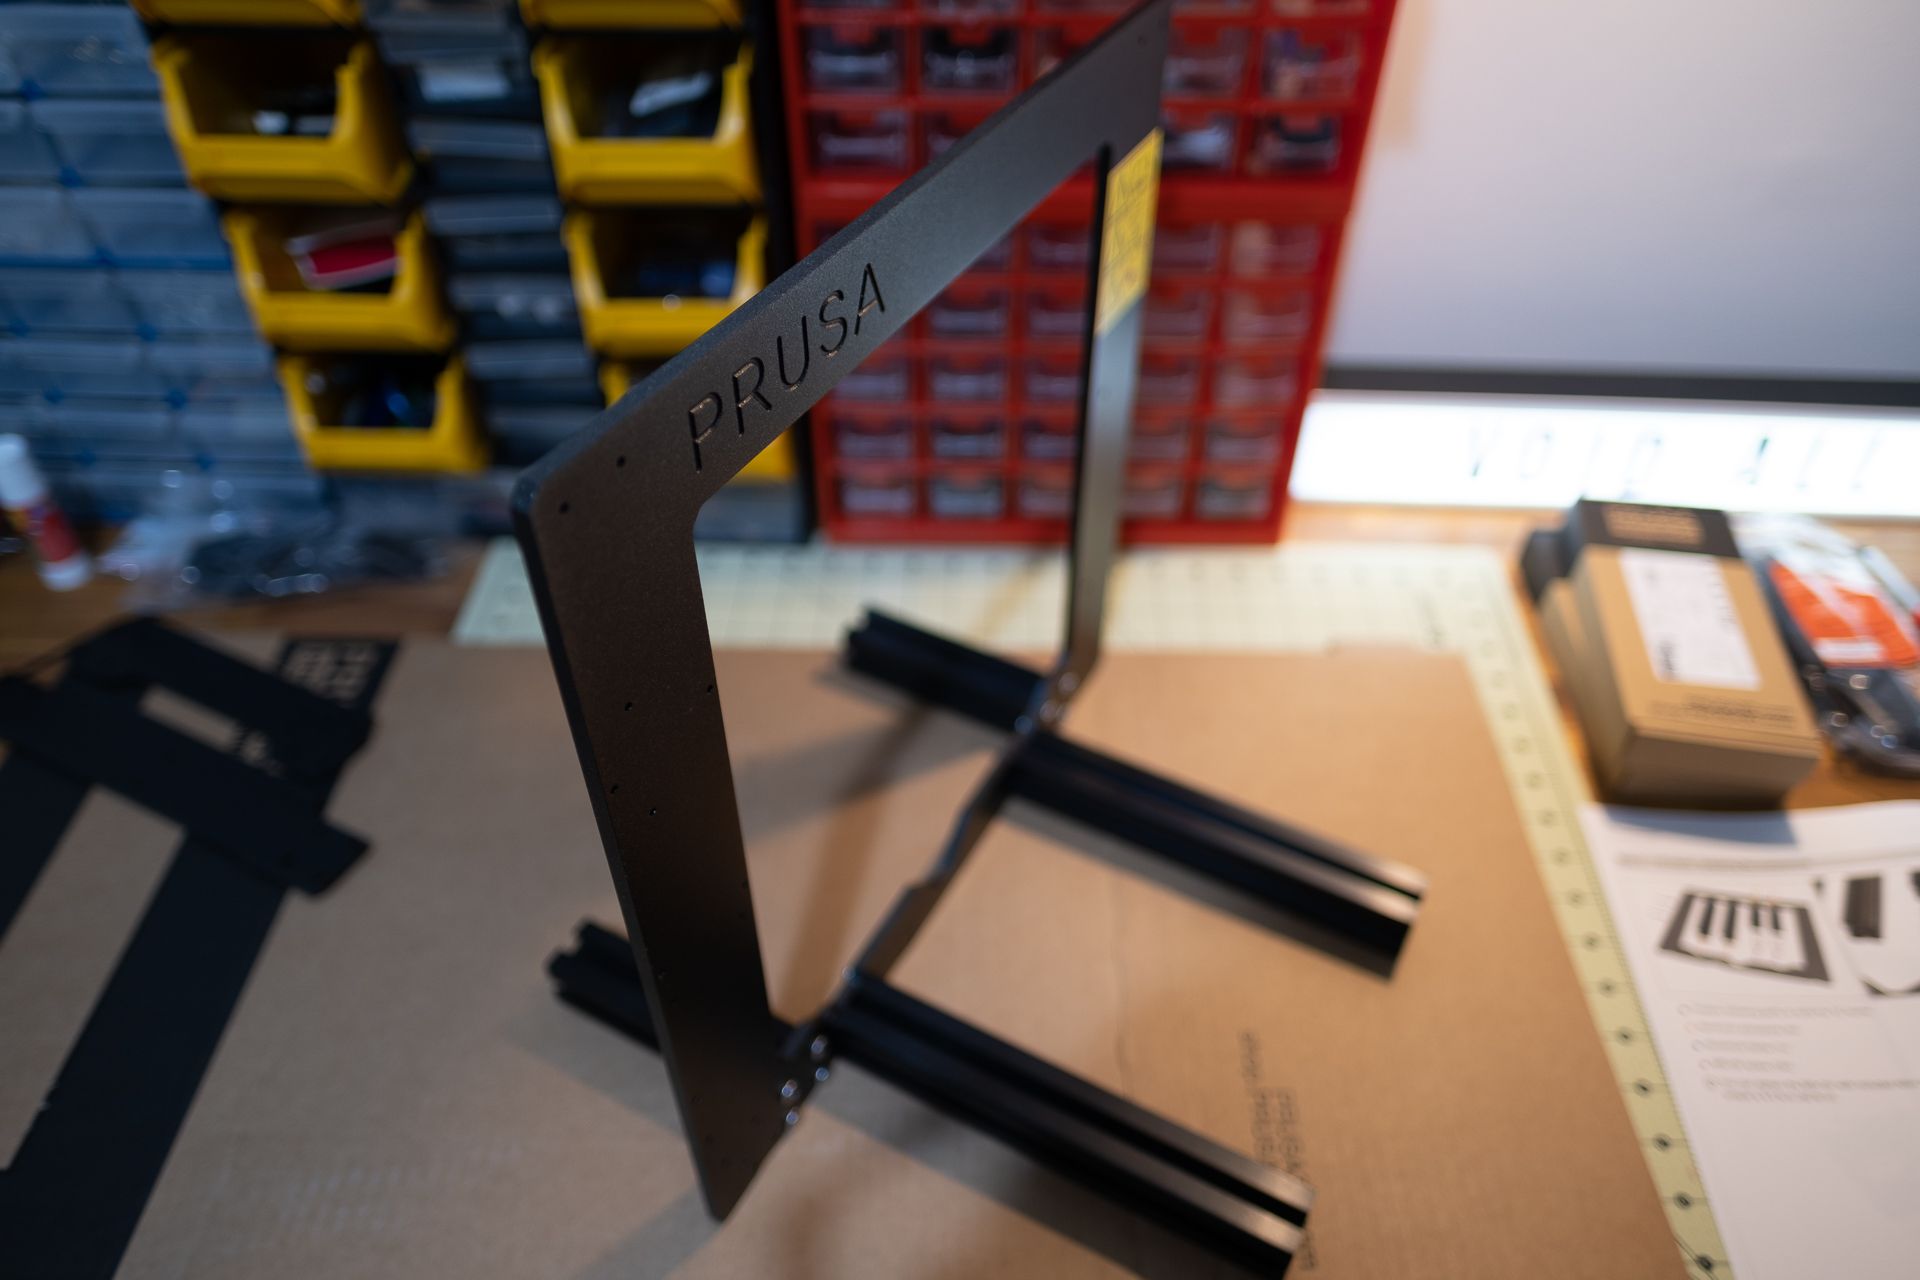
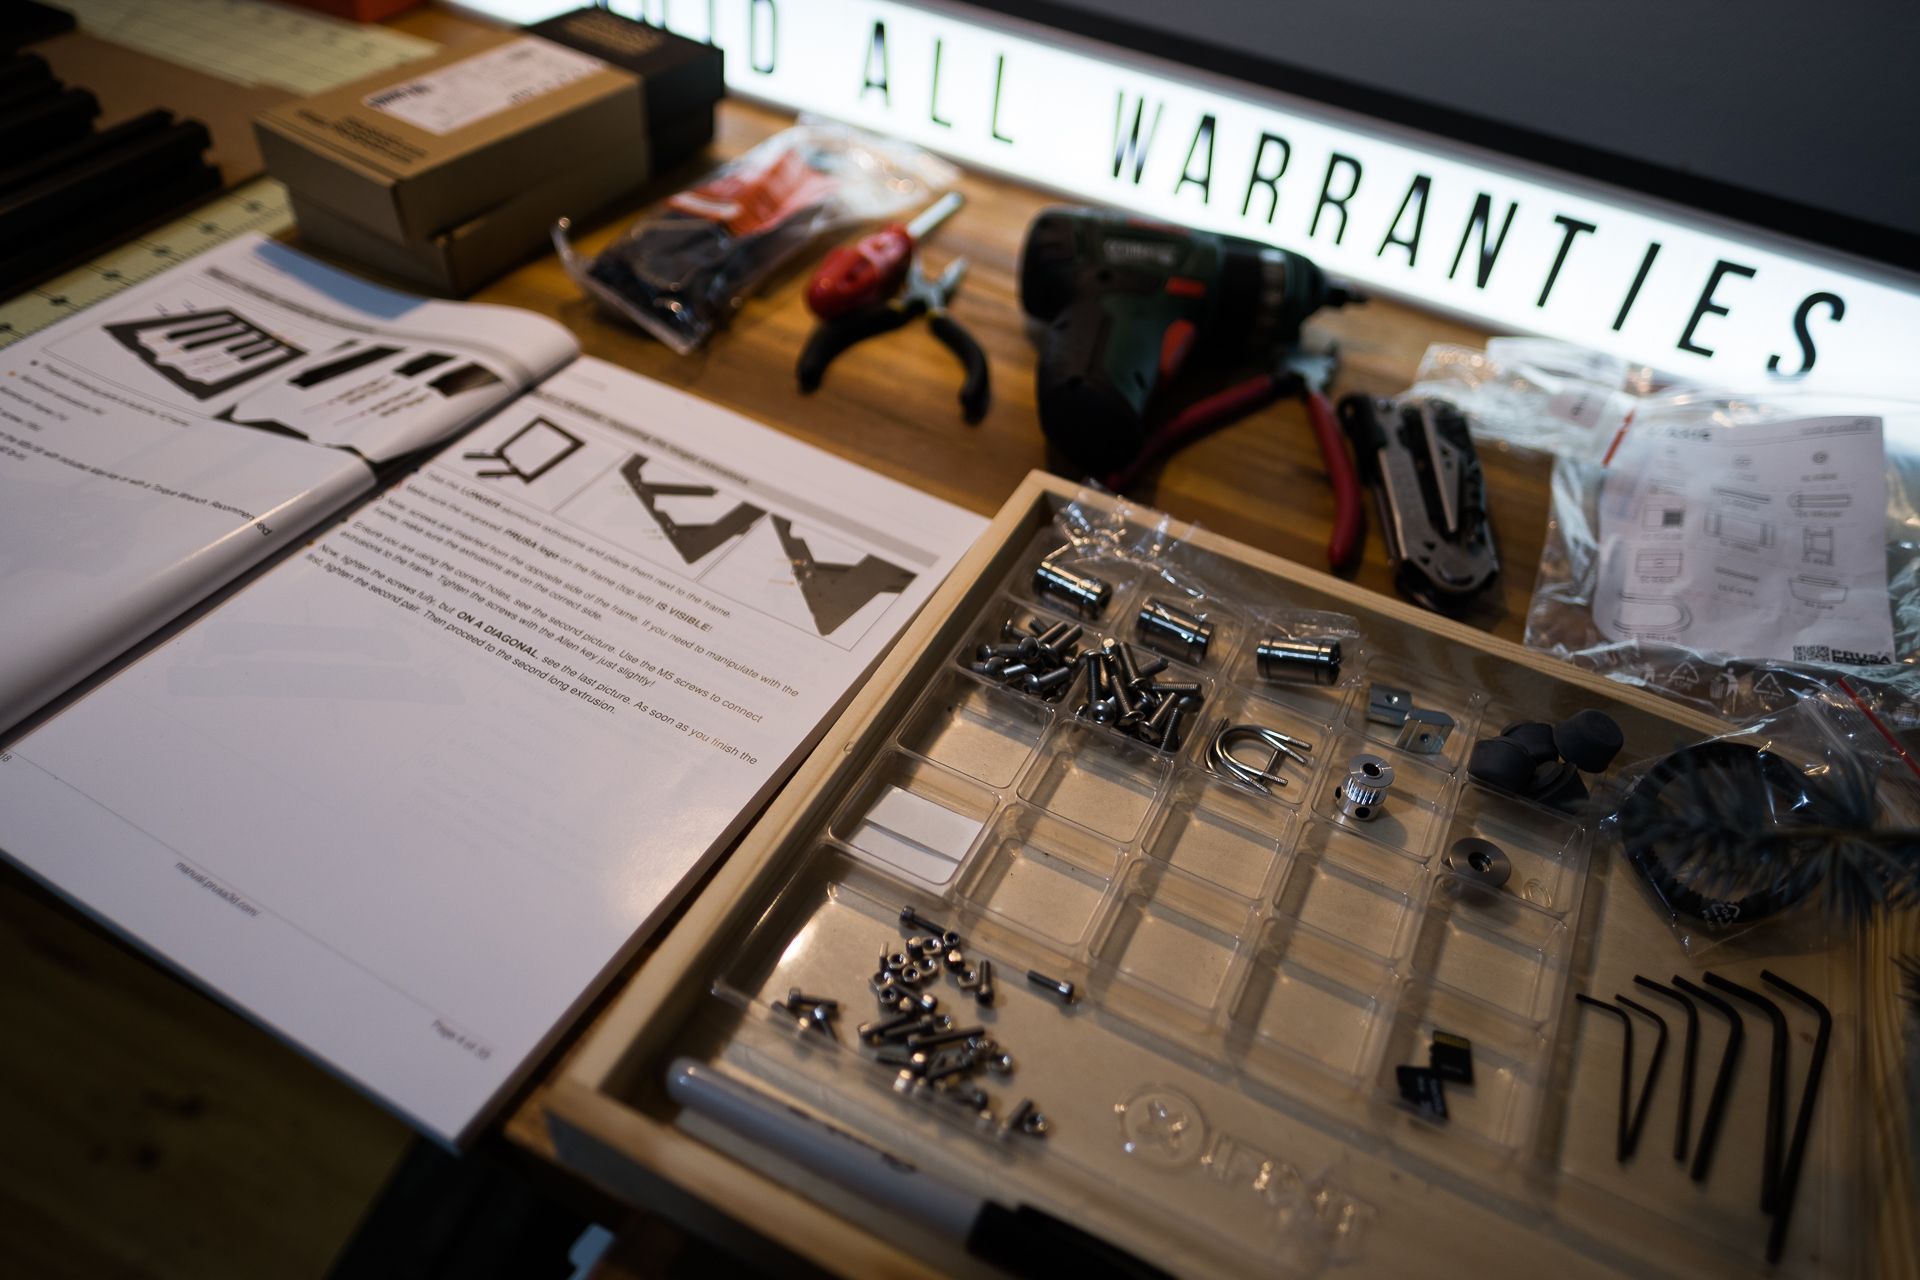
The build was done in stages, and each stage had a plastic bag of hardware and a little box of aluminium and 3D printed parts (love that!). It was perfect for doing 1 stage per night throughout the week. All up, it took just under a week of working on it in the evenings, but I was very much taking my time while doing other things on the side, and have read plenty of people saying it can be done in a day.
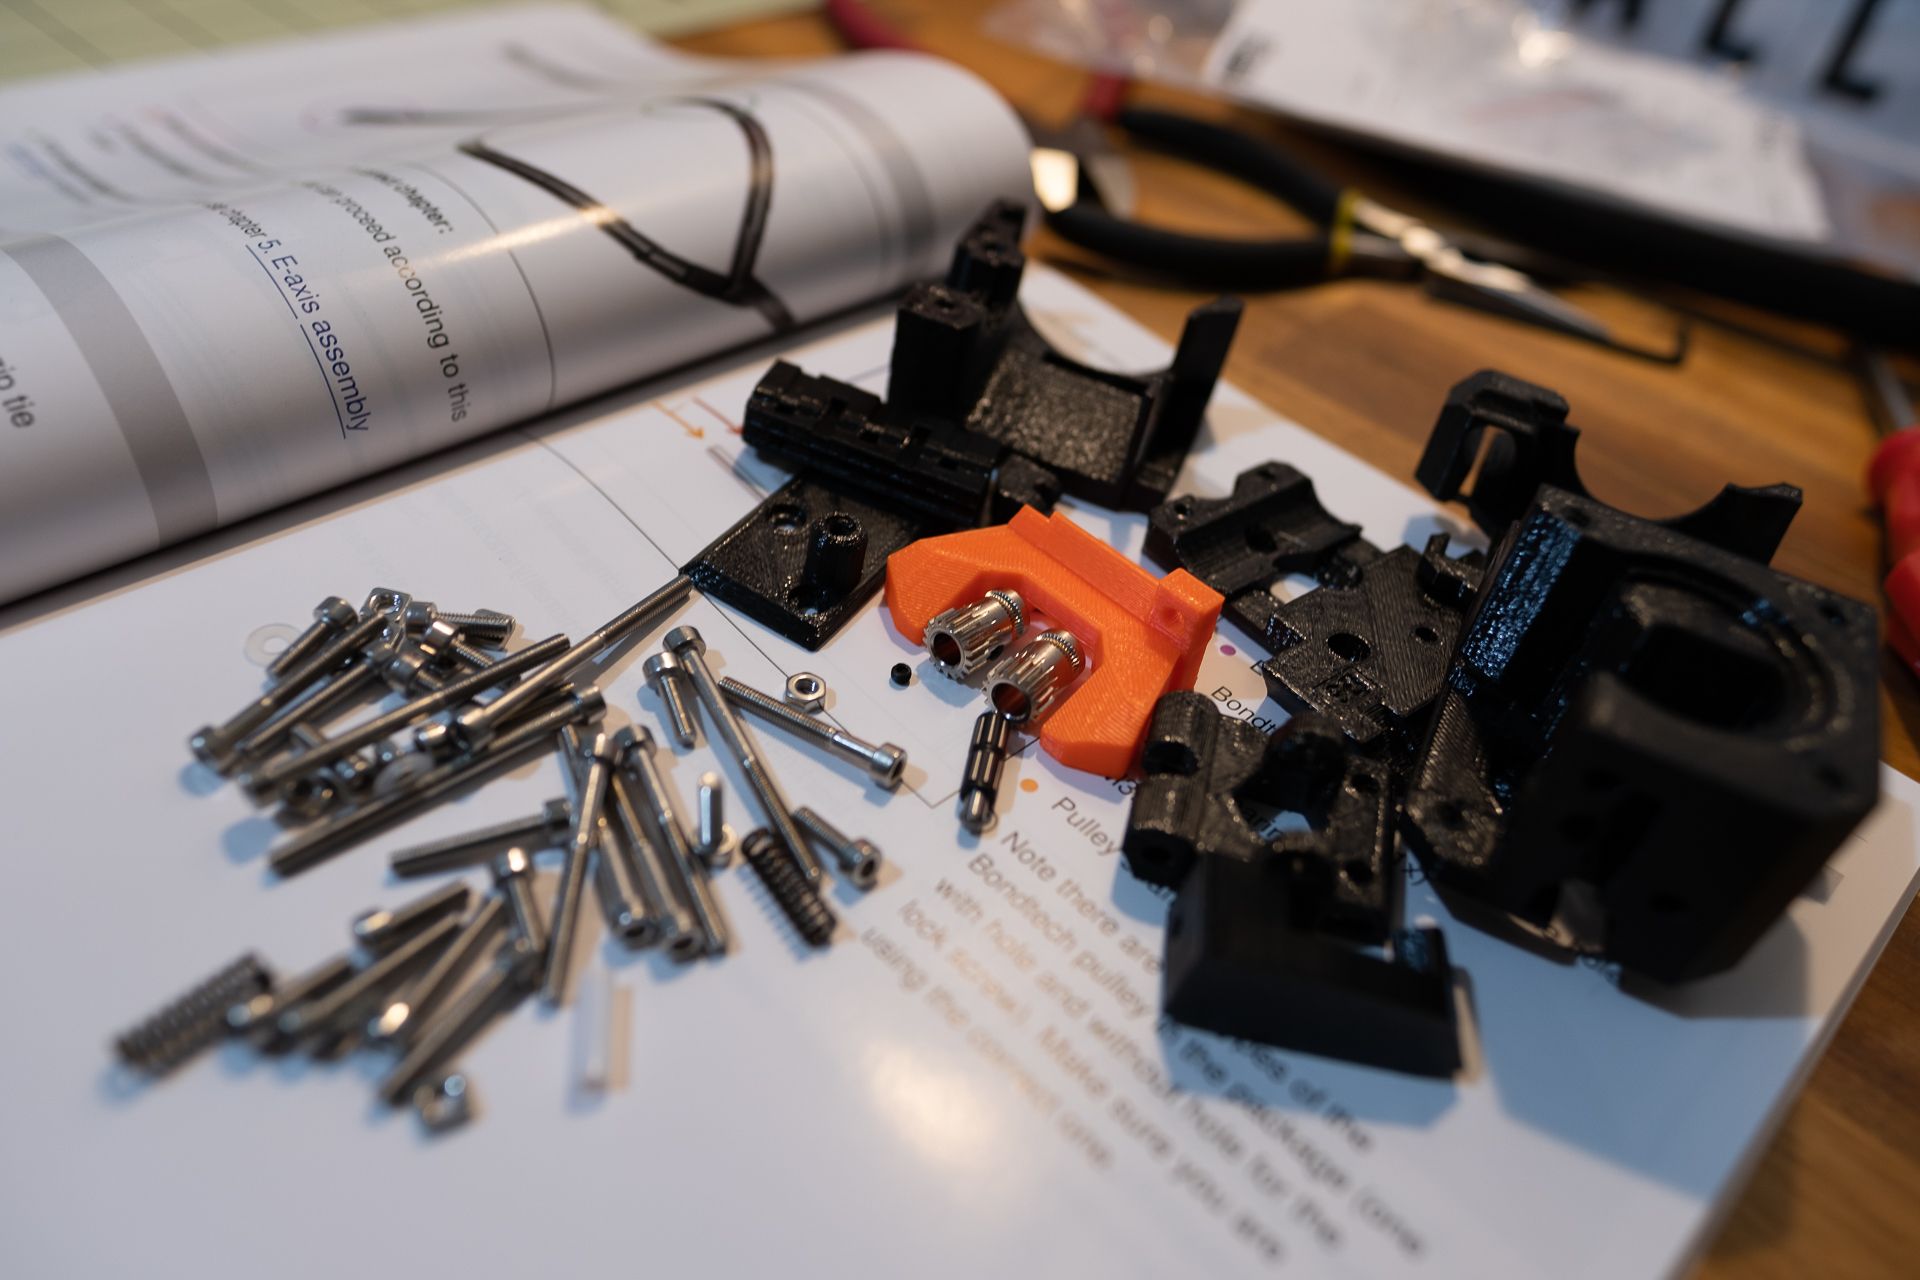
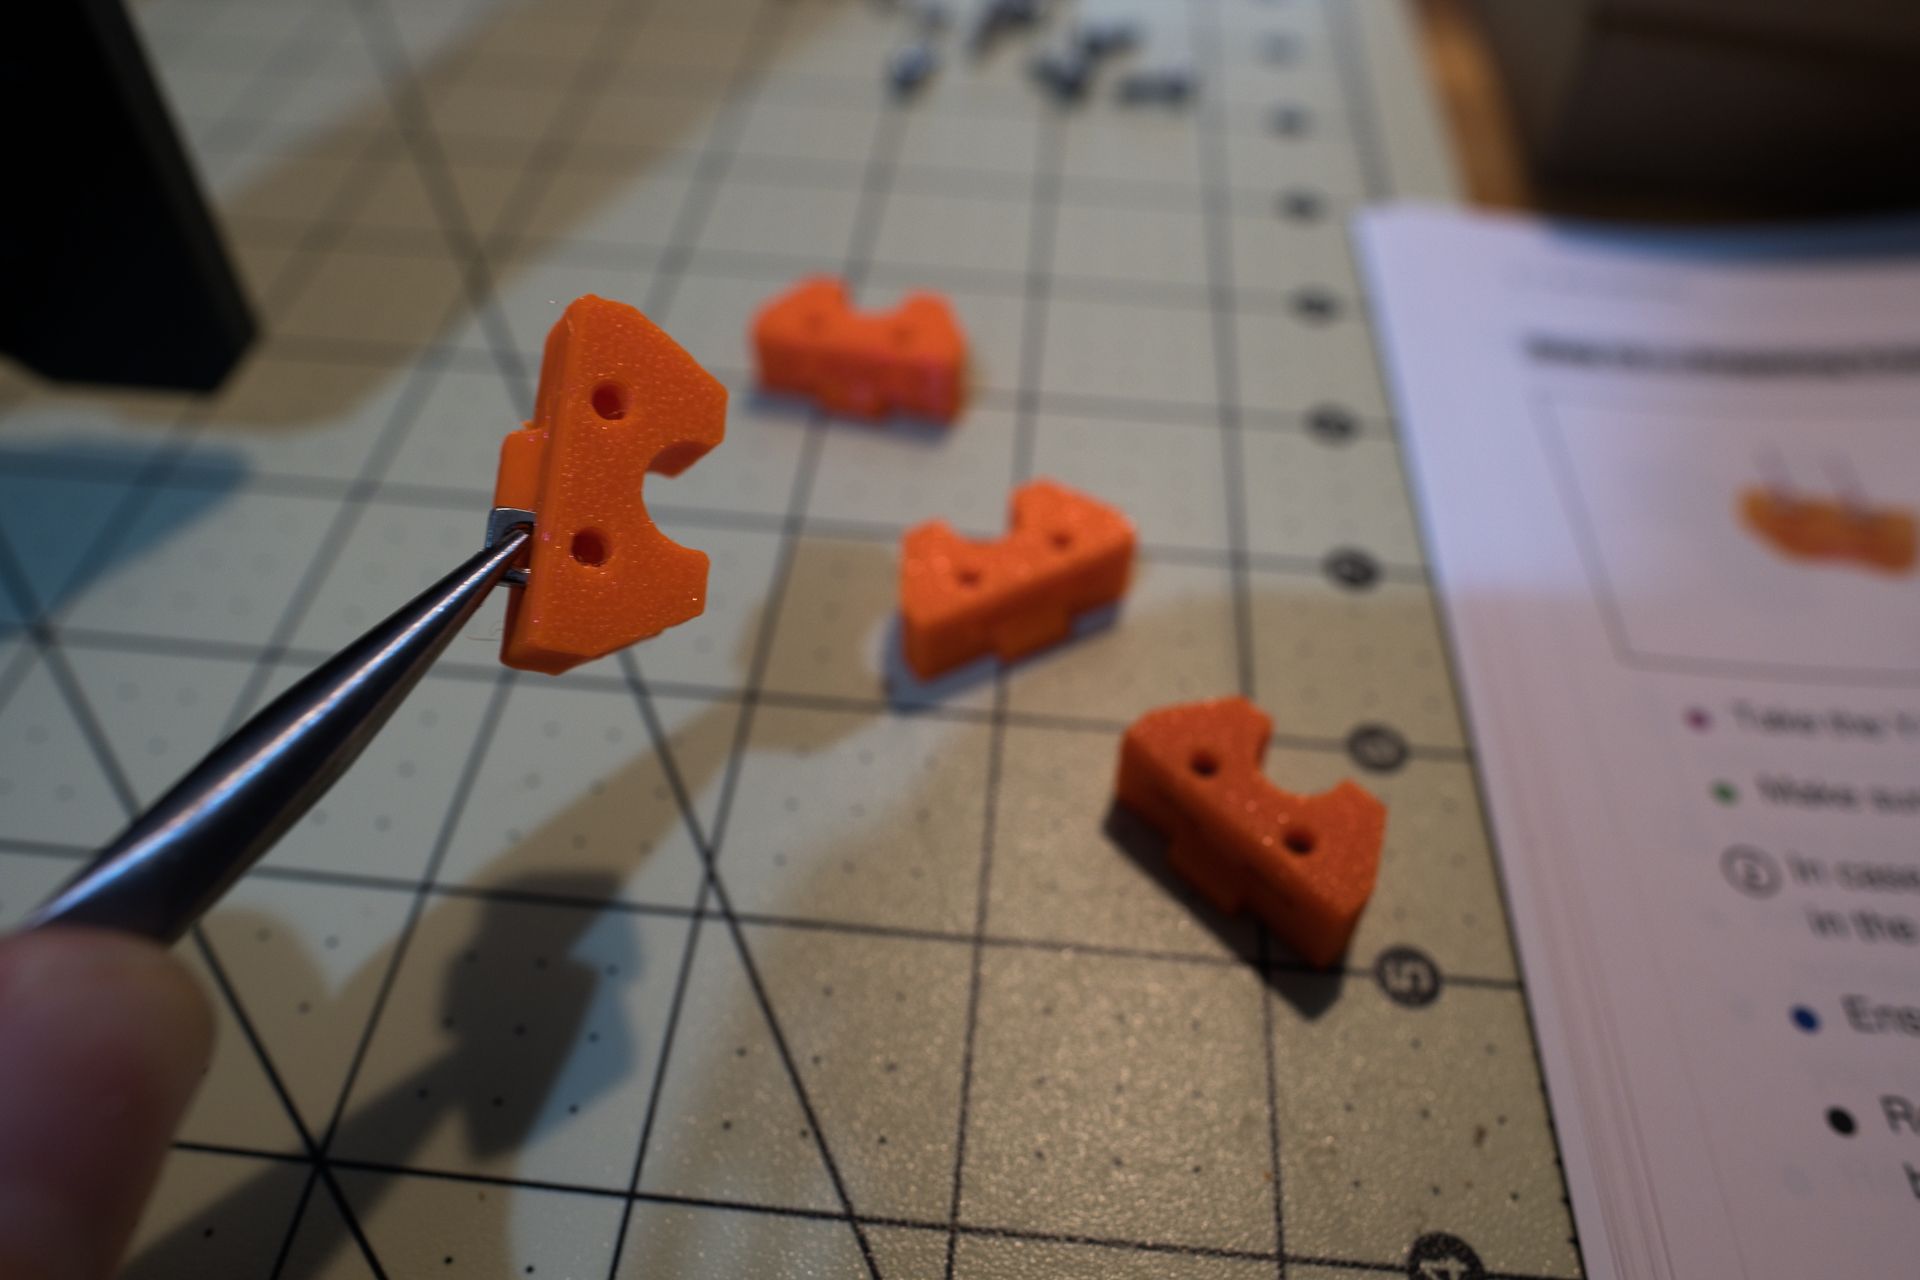
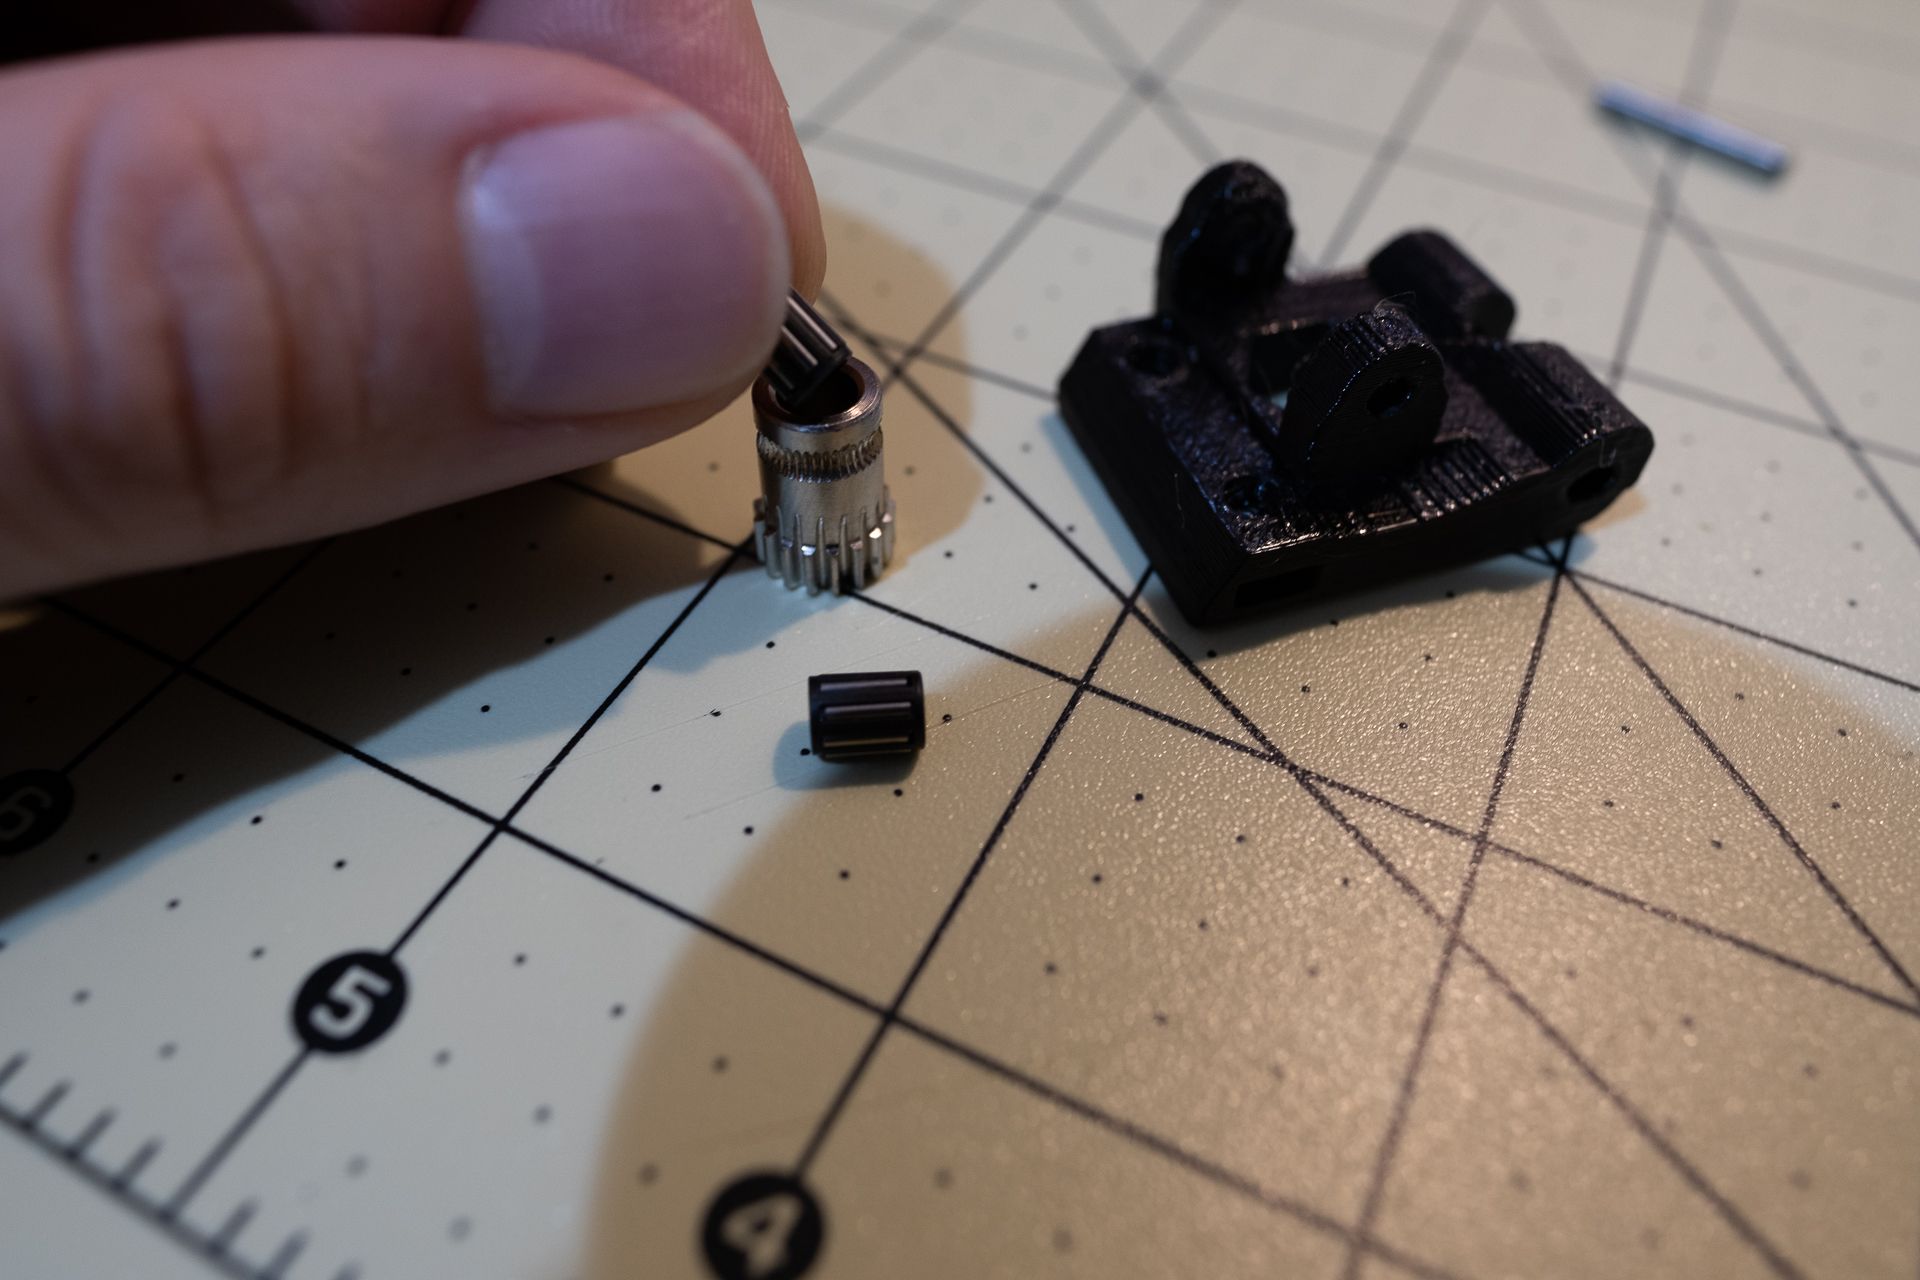
The only “hard” part for me personally were some of the tiny pieces. I don’t have the best fine motor control so getting those tiny bearings insert, and some of the smaller hardware in, was quite difficult and required a few tries. It was just fiddly though, not difficult, and the instruction book had lots of very handy tips and tricks for those parts so obviously they’re aware some people struggle with it.
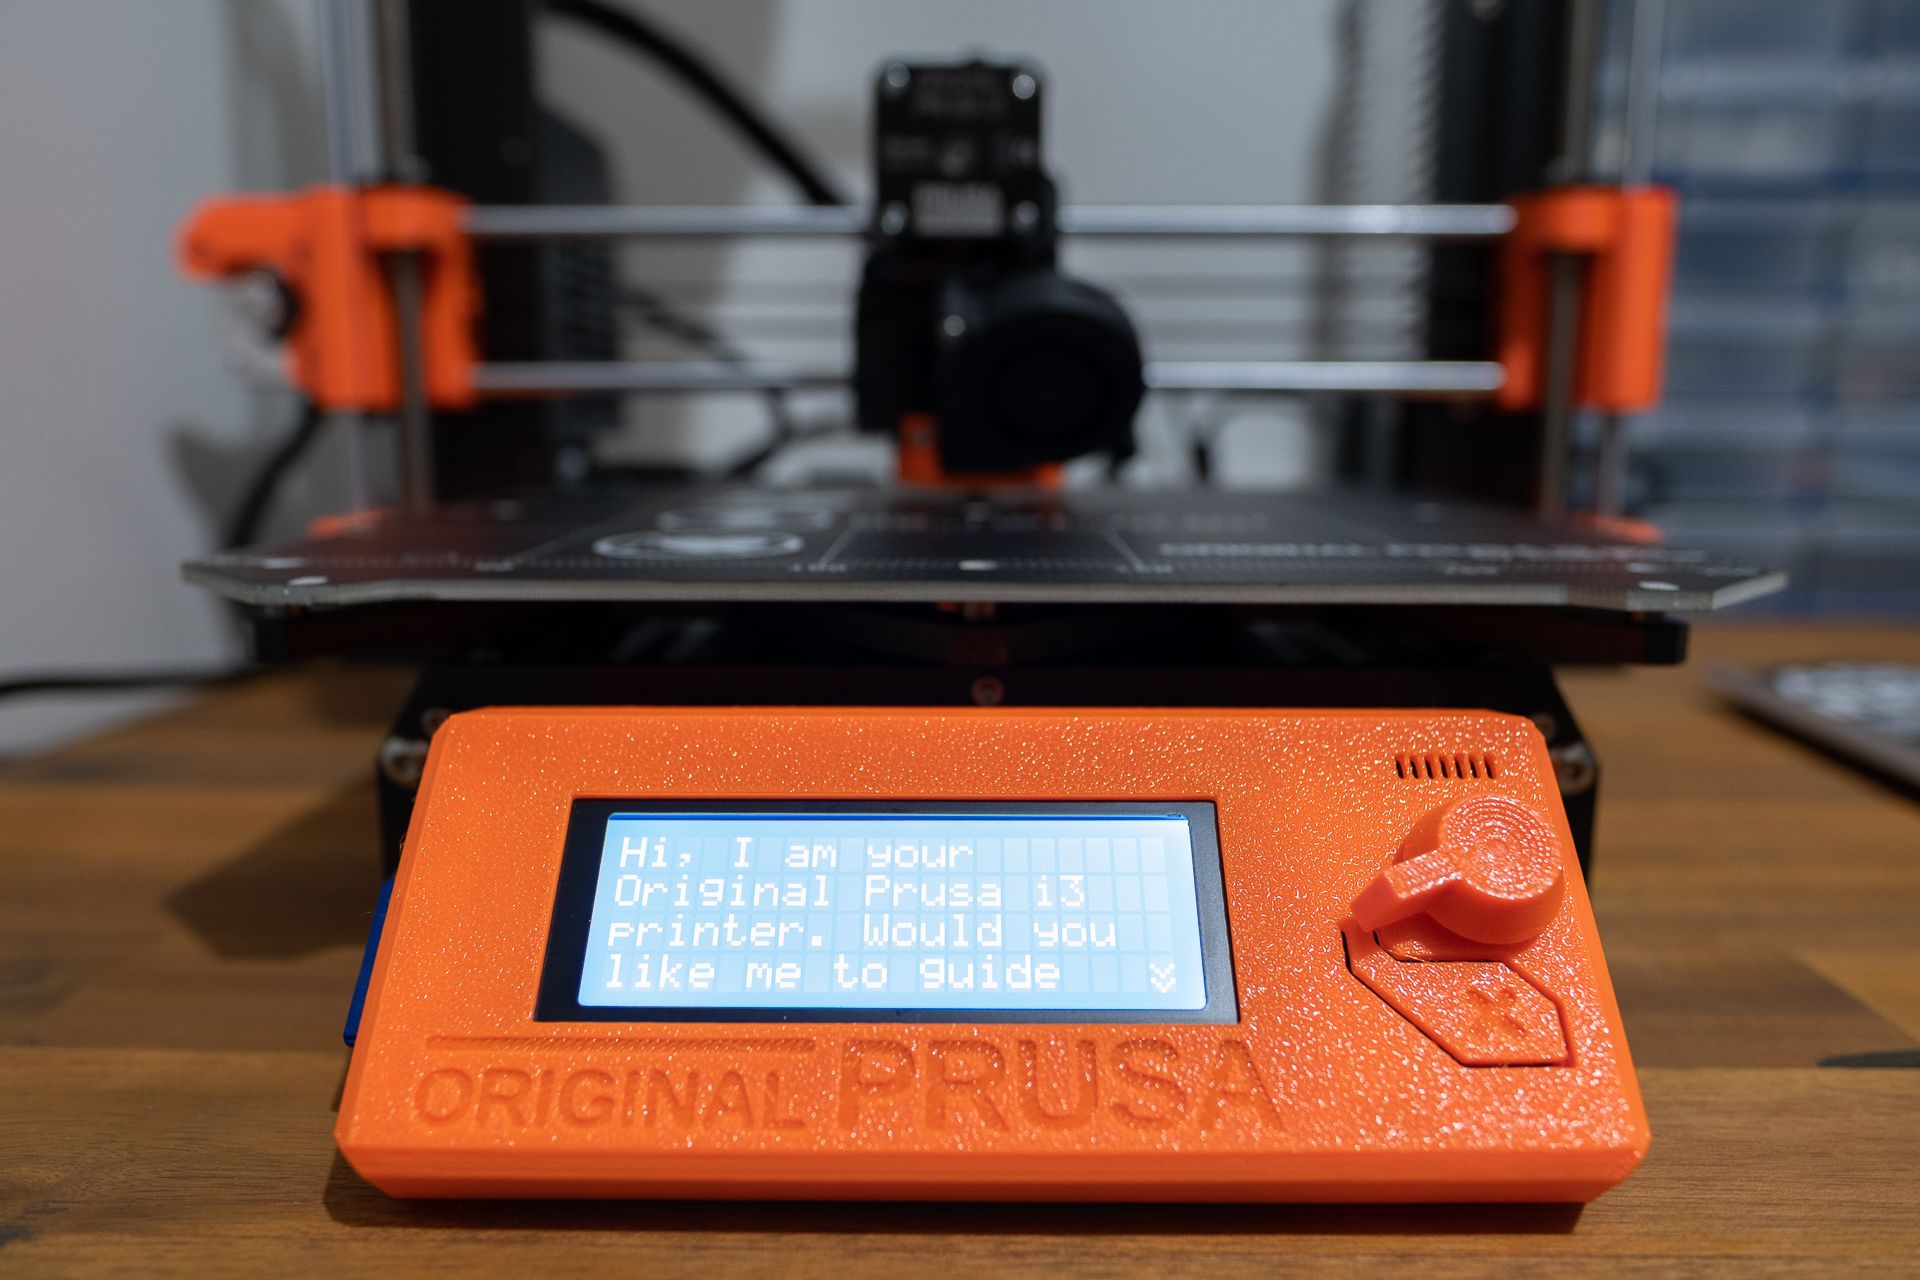
Then… it was done!
Initial test prints did not go so well though…
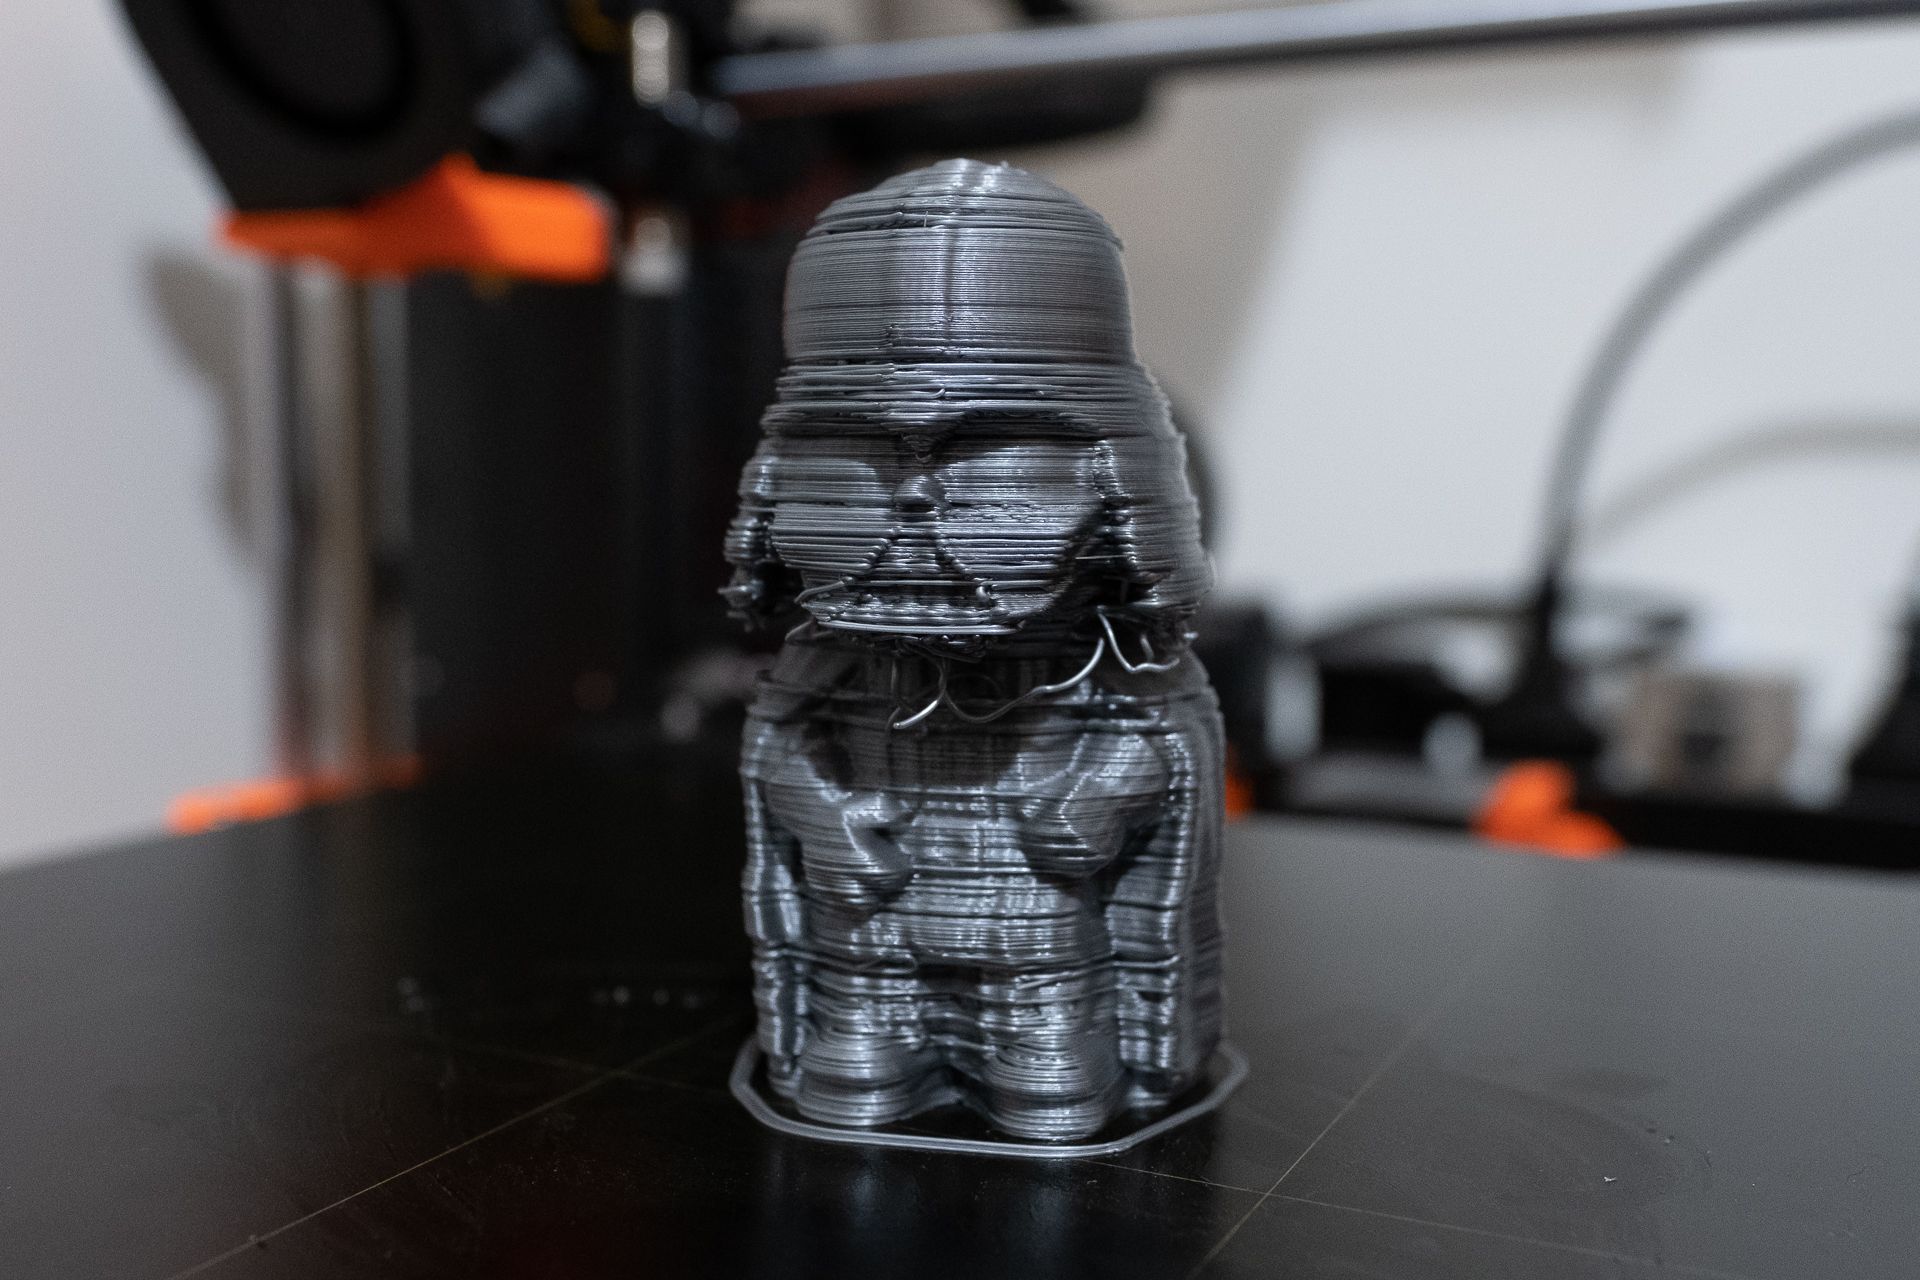
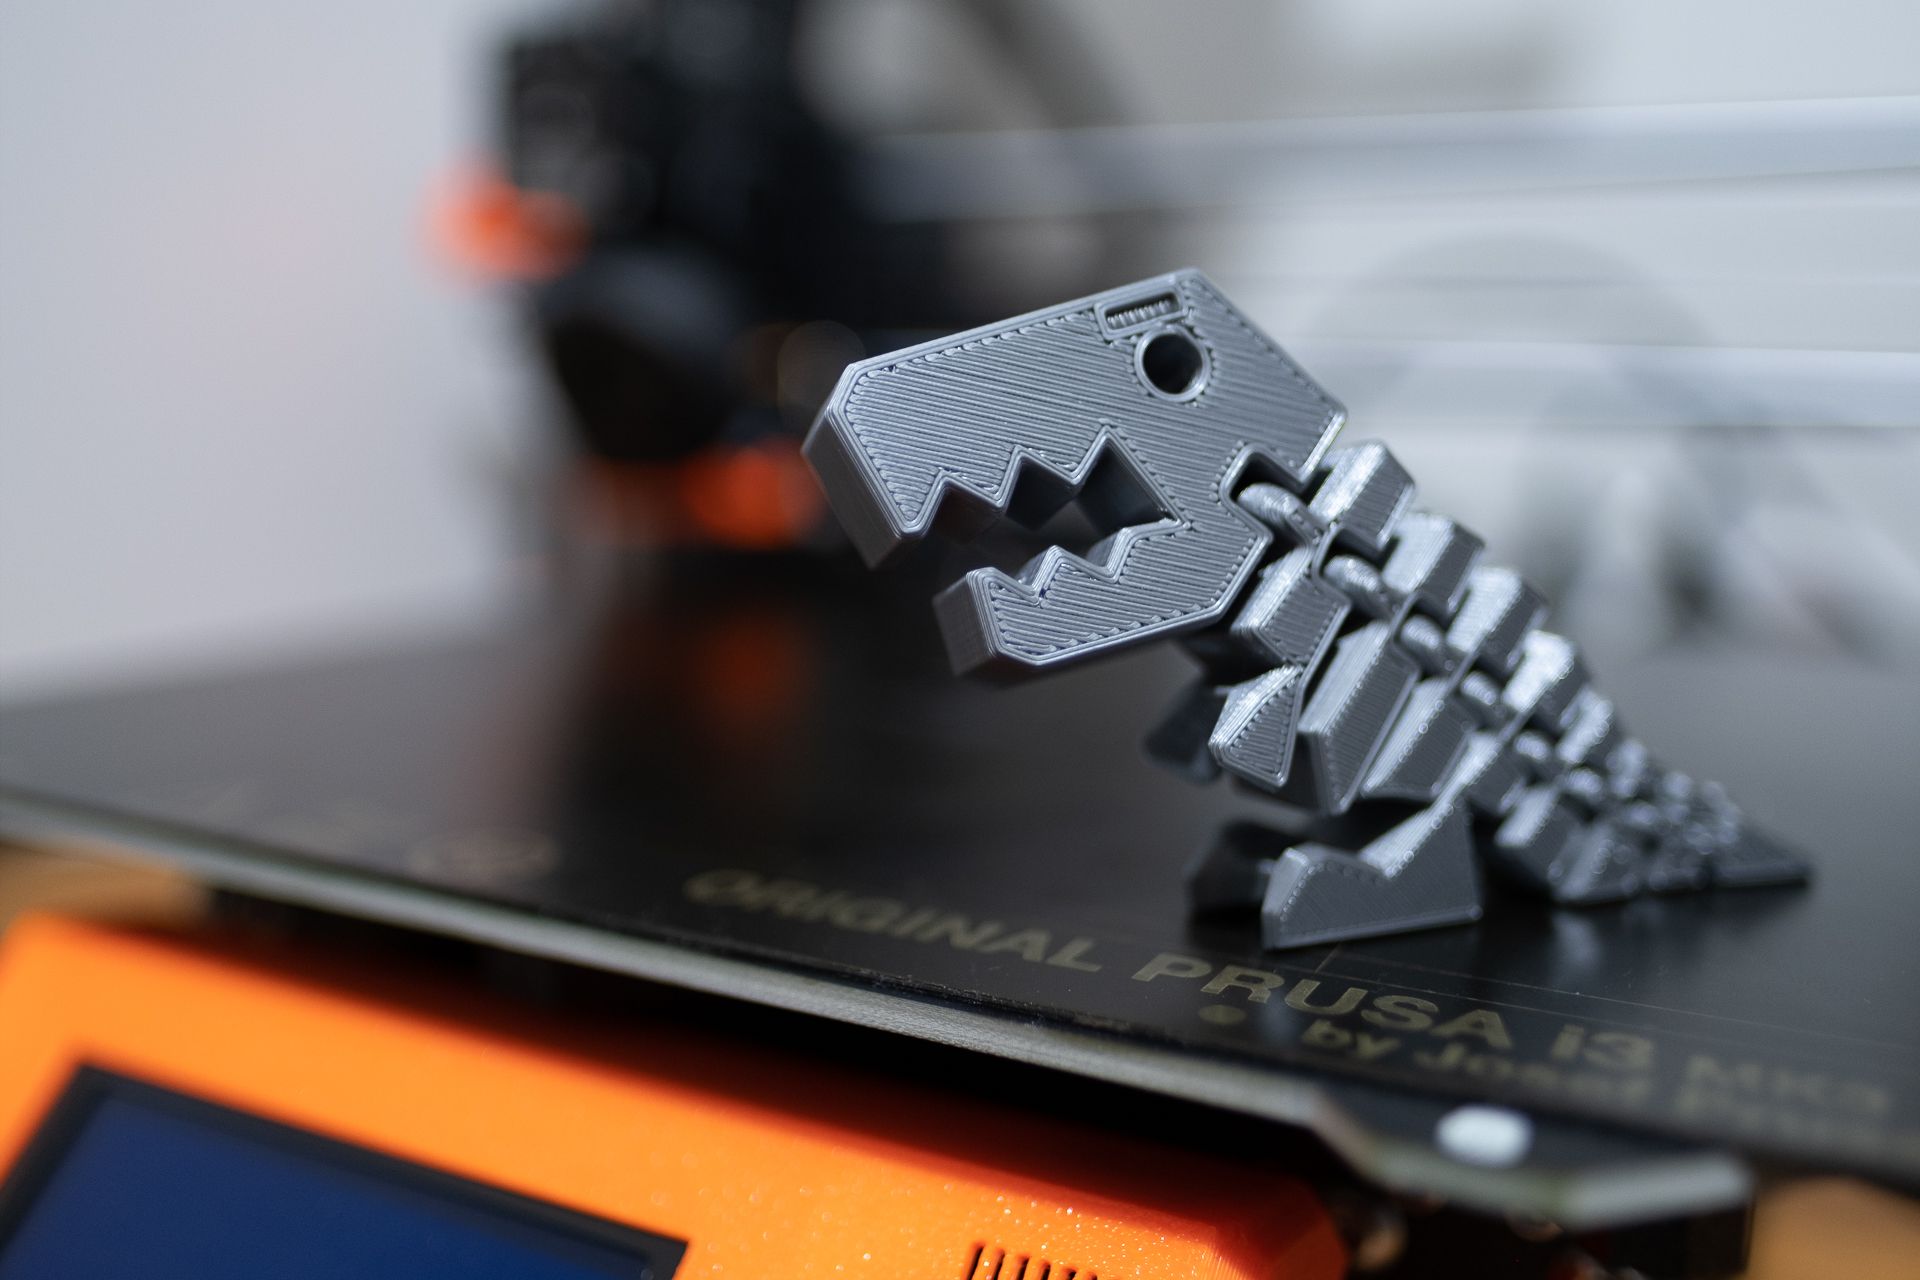
I call him Derp Vader.
After 2 days of fiddling around, getting really frustrated and wondering if my printer was faulty, I remembered the age old rule: I’m an idiot.
I had forgotten to tighten one of the tiny little screws that pinned the Y axis pulley to the motor shaft, meaning every time it changed directions in the front/back movement, it shifted slightly. D’oh.
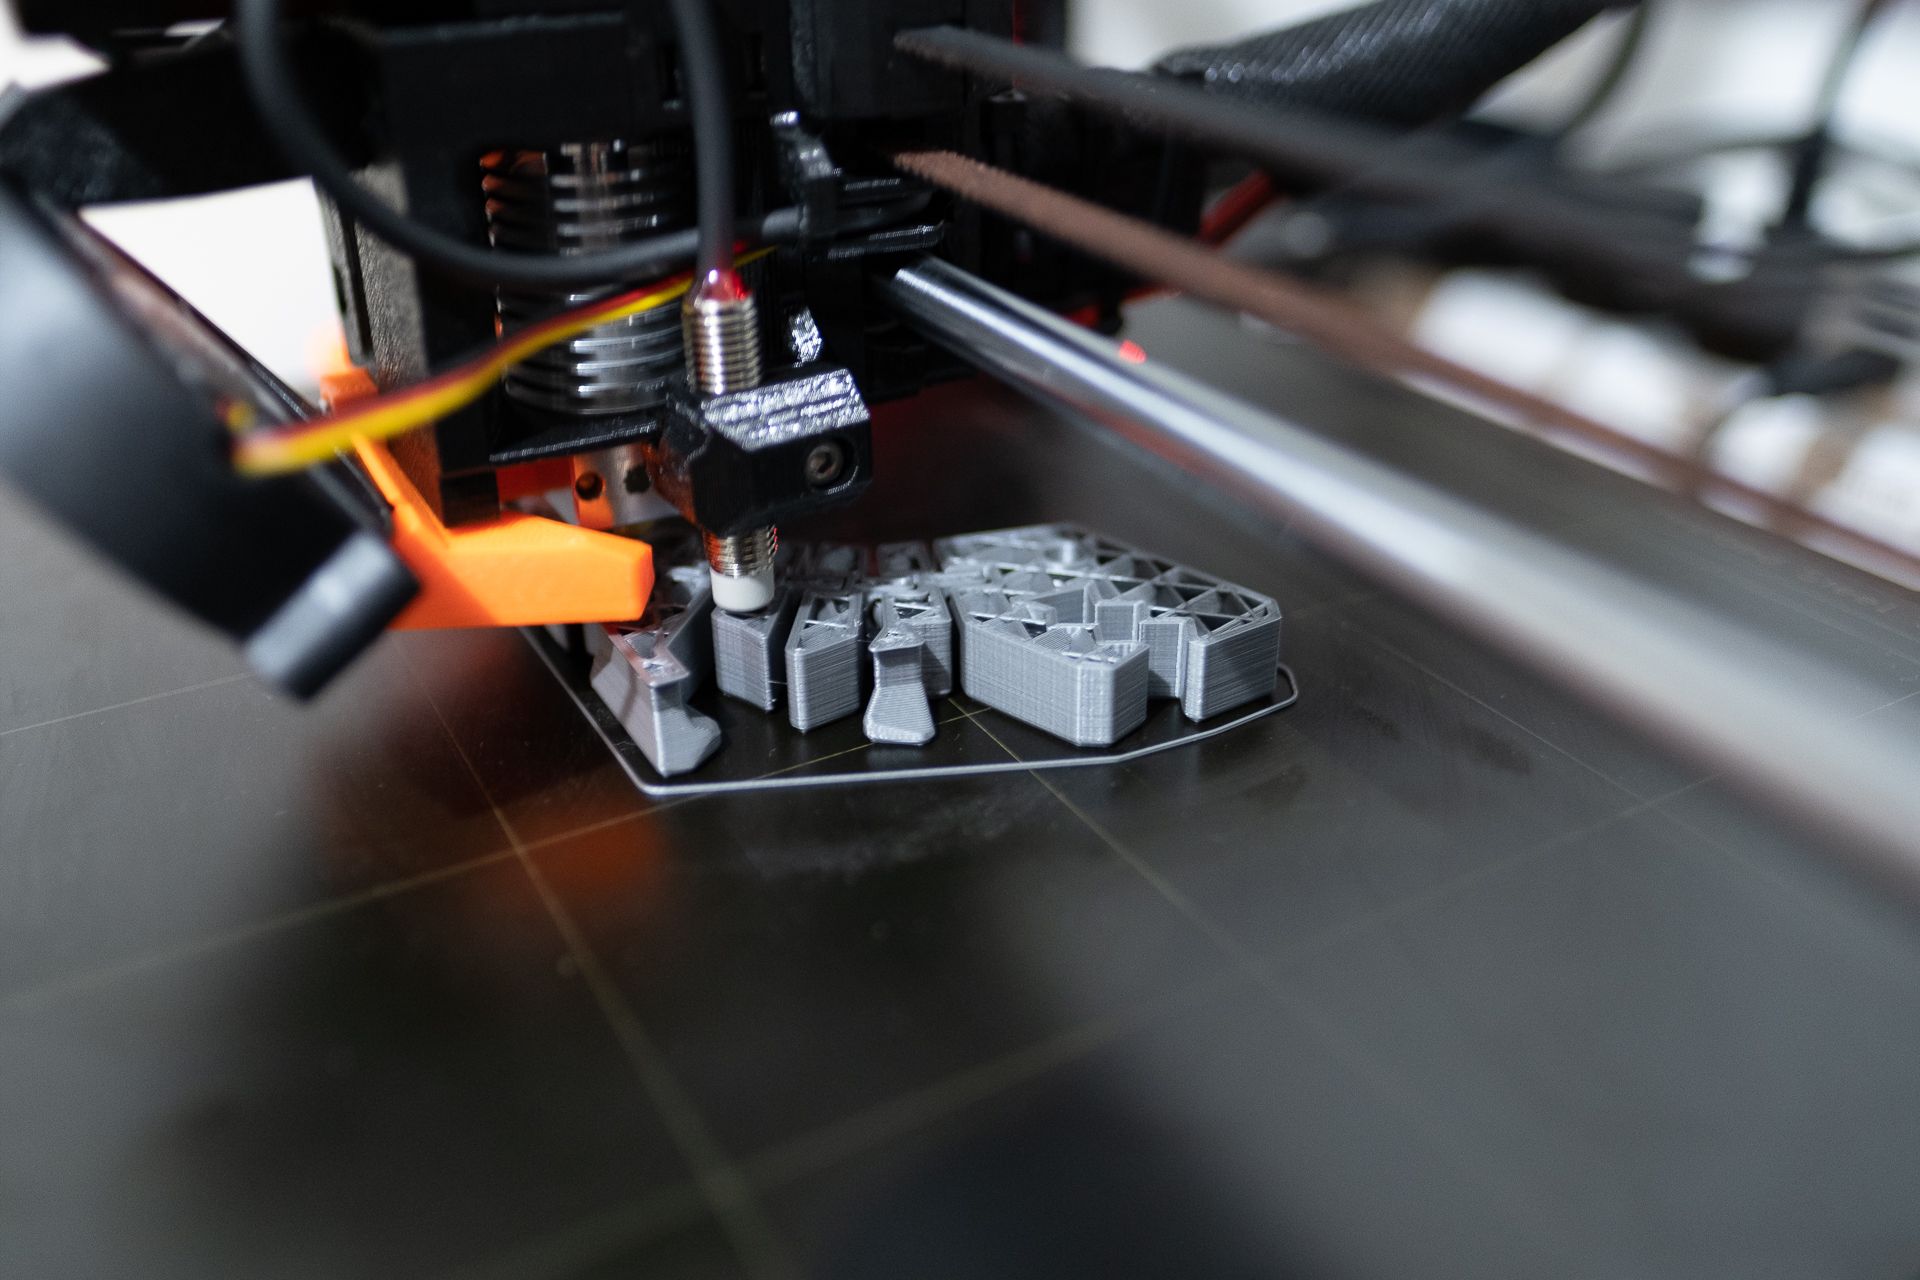
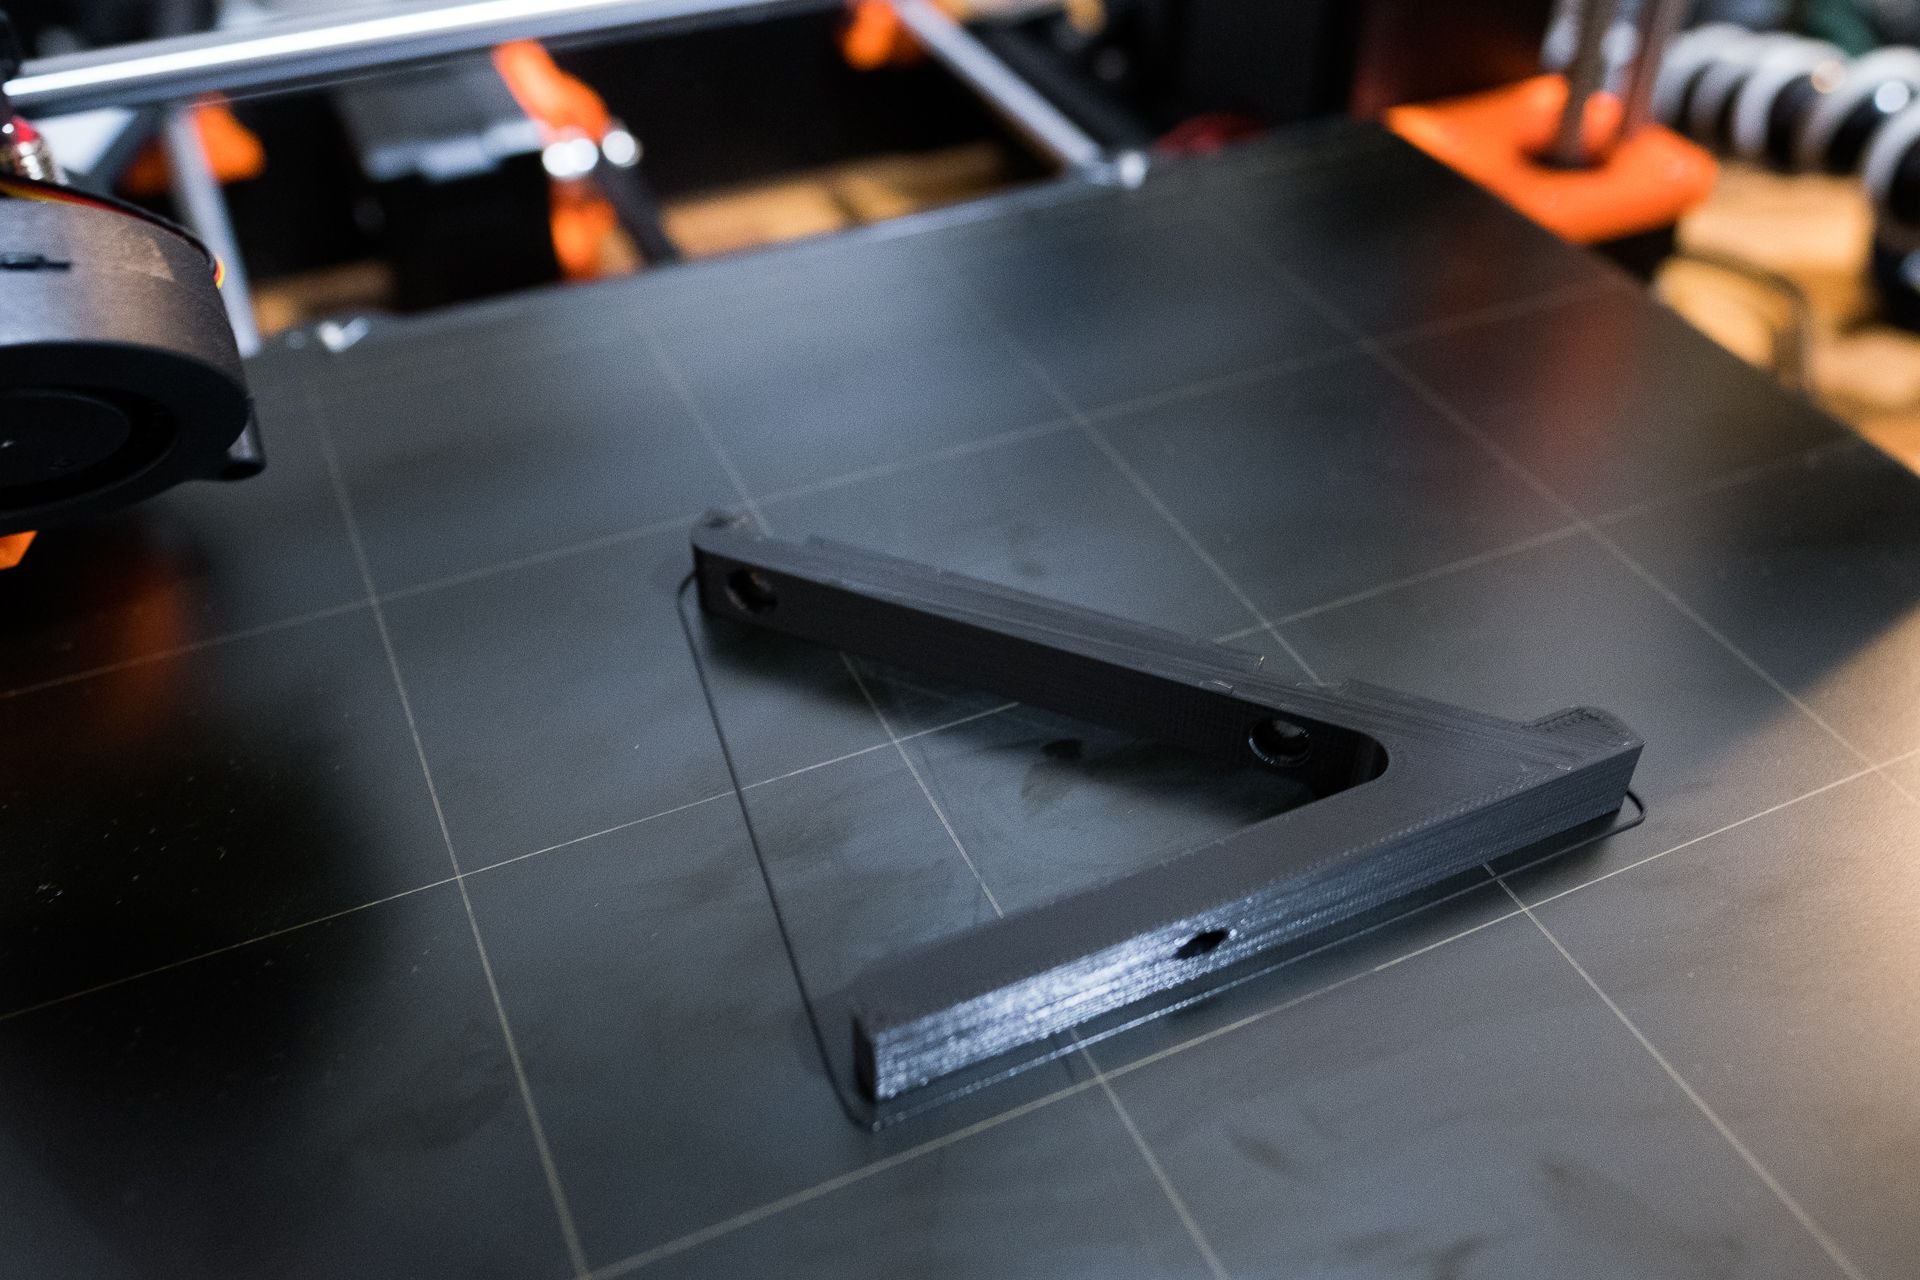
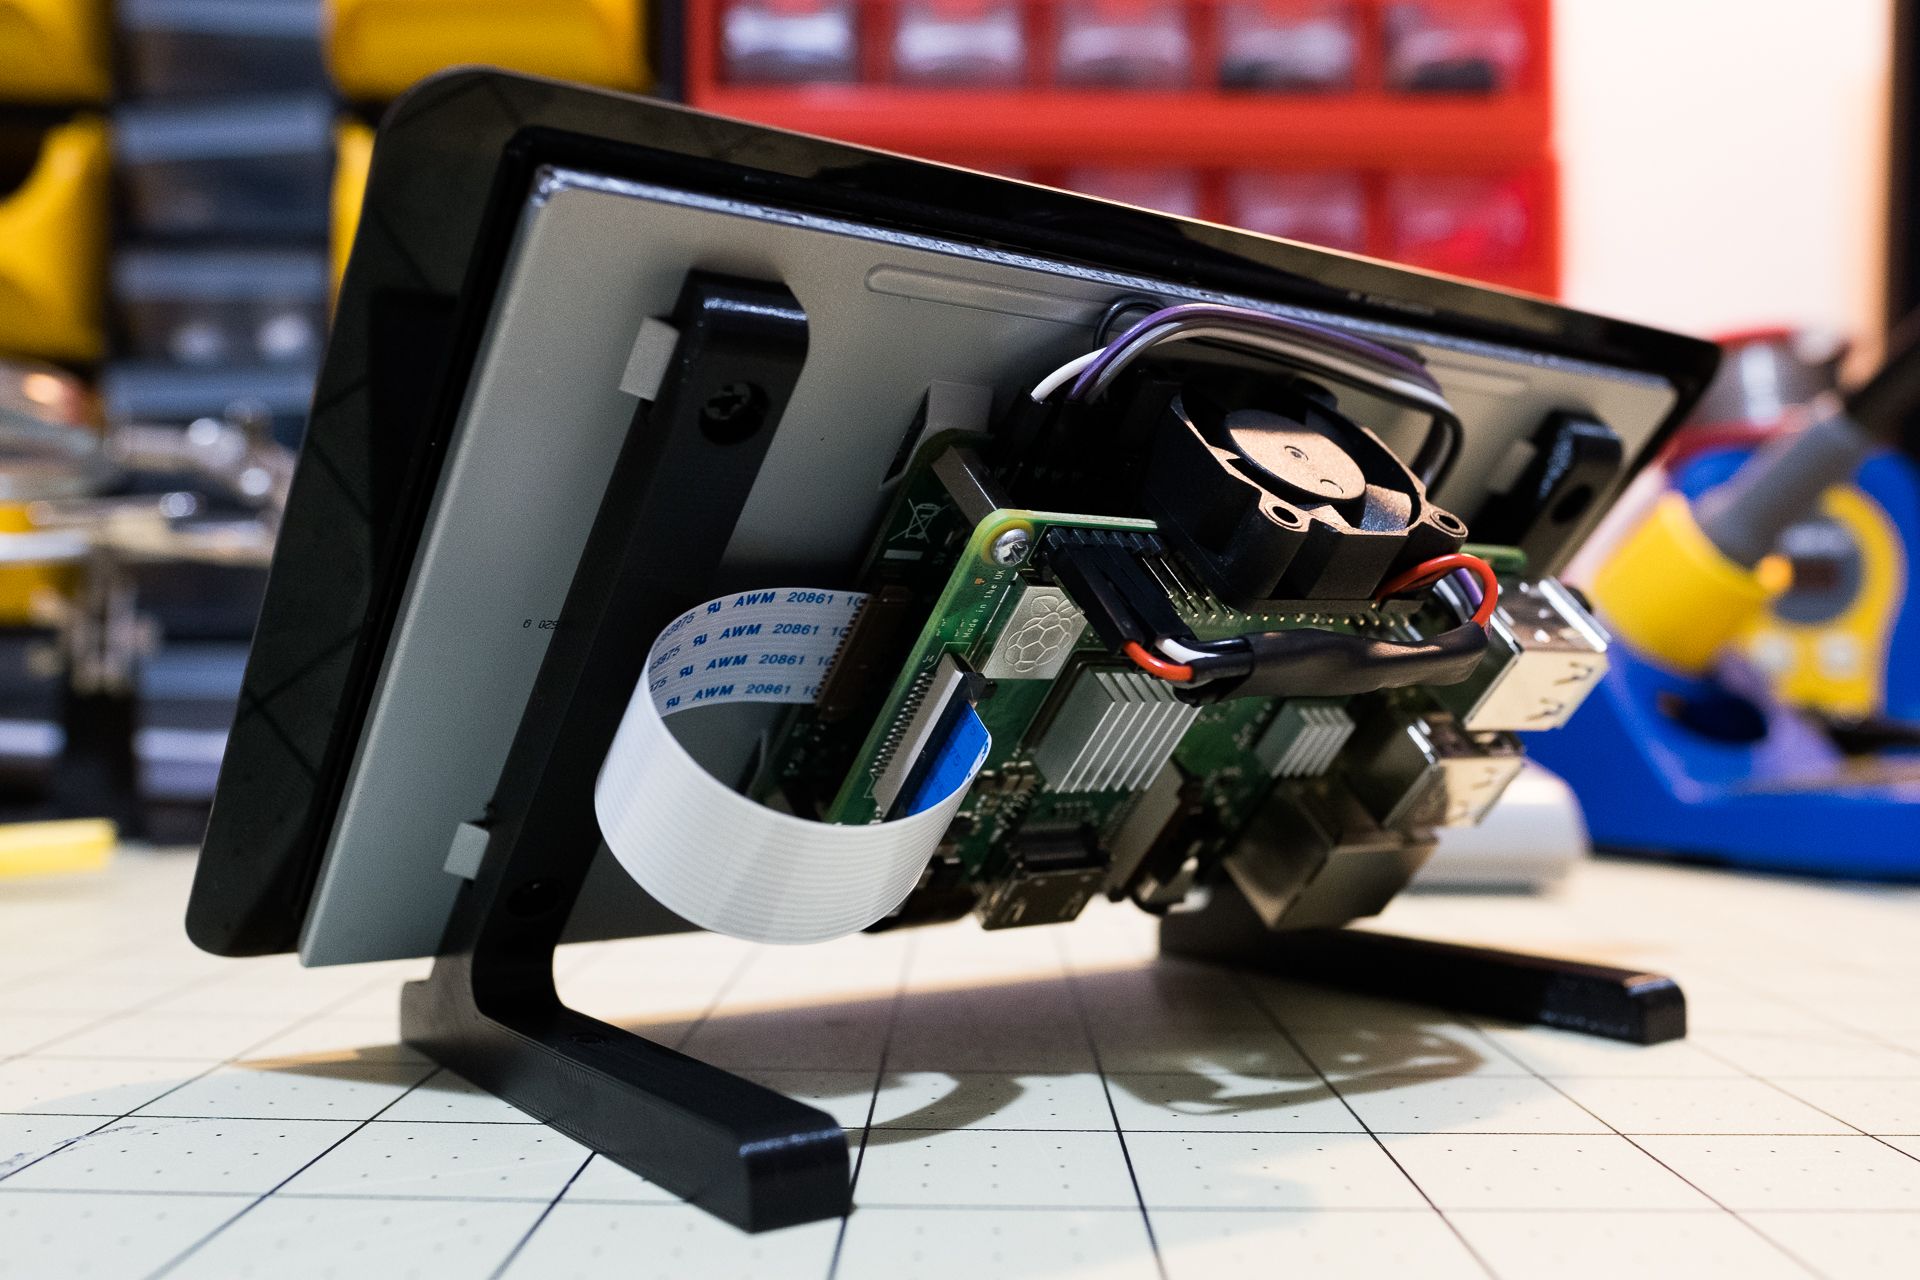
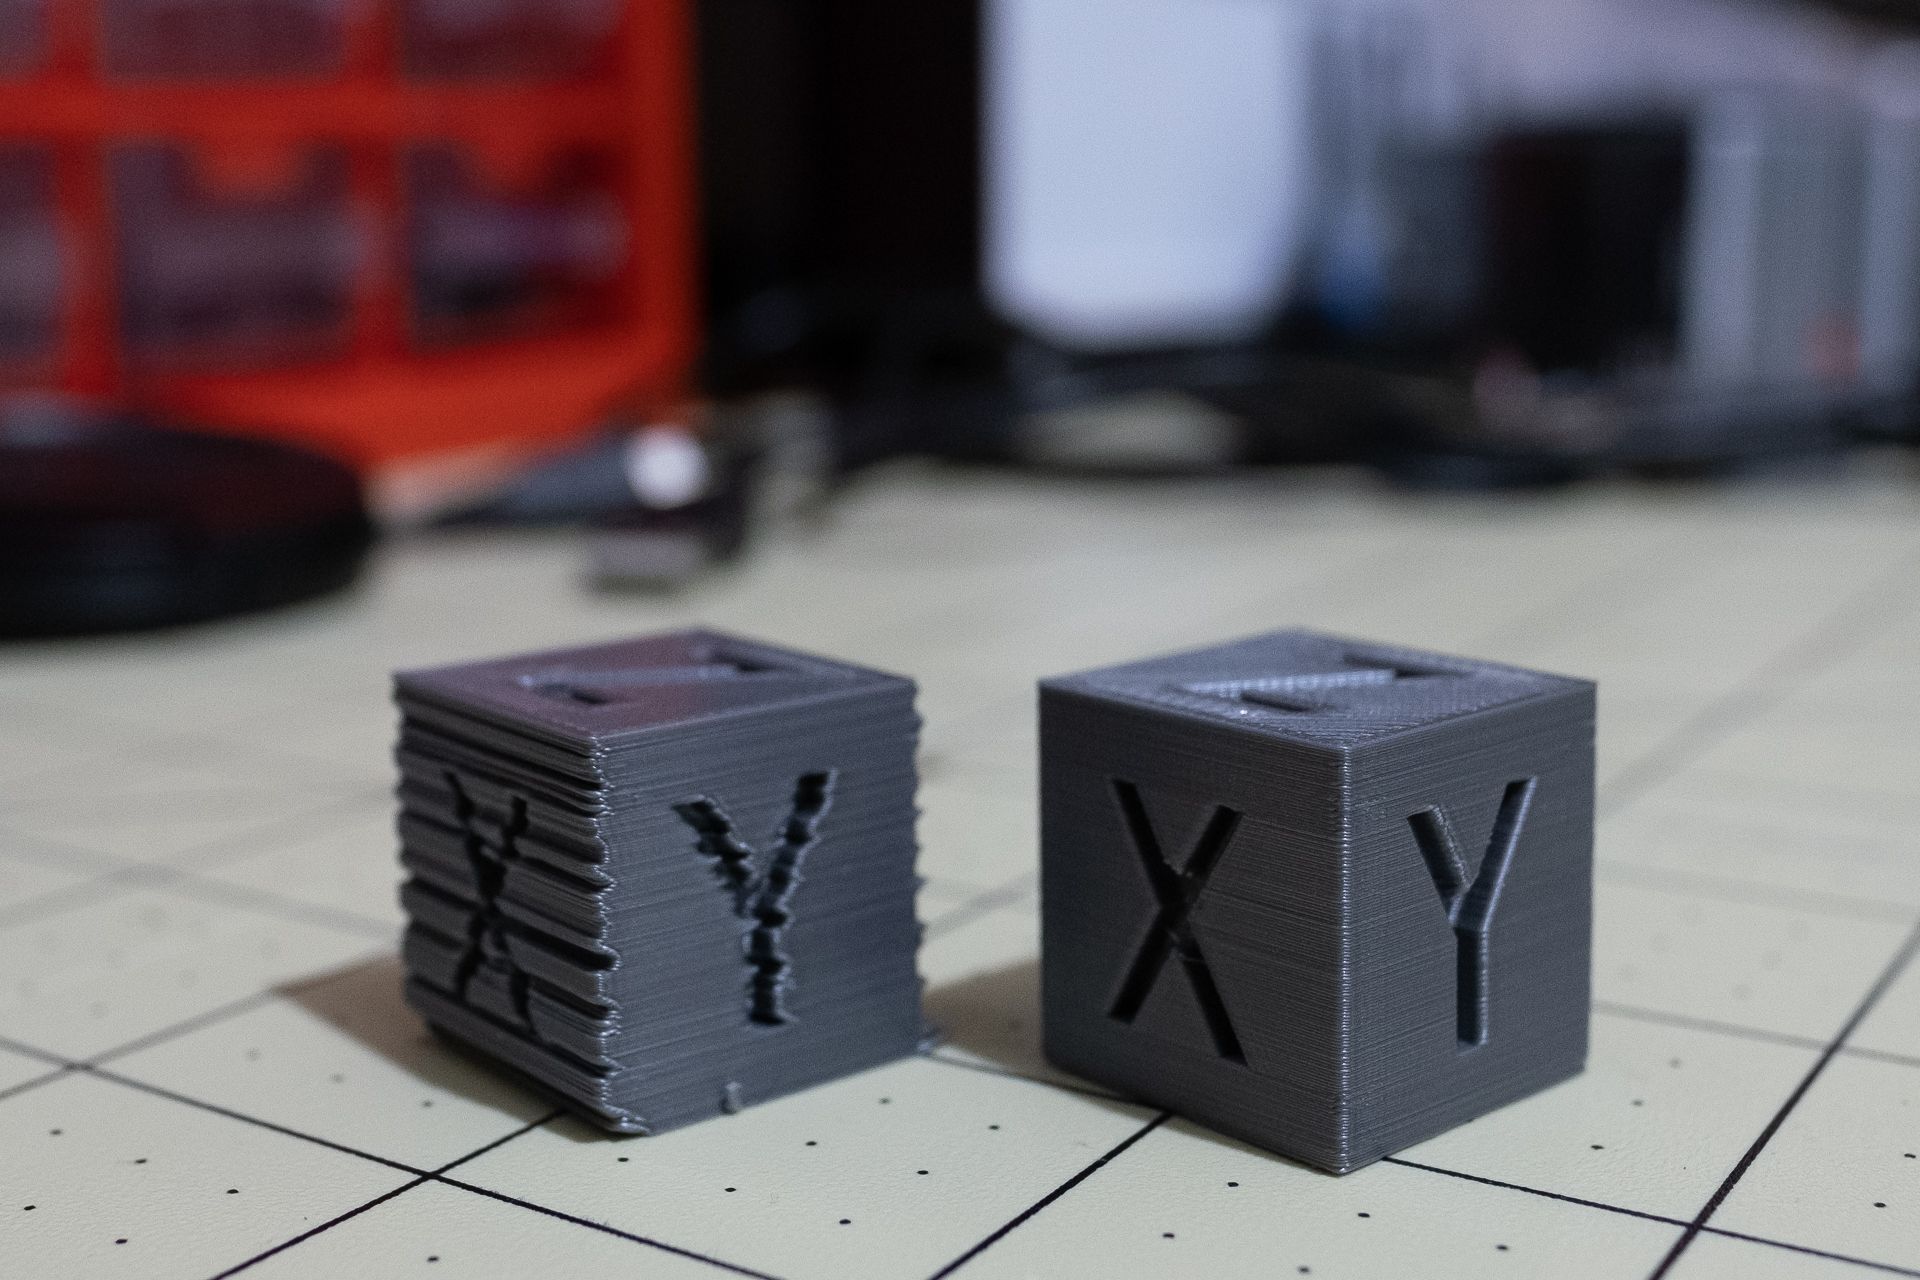
Since them I have mostly just been playing around printing random things, learning the software stack, fiddling with settings, and seeing what the printer can and can’t do. I’ve printed lots of test cubes, whistles, and keyrings, to get everything lined up nicely. I’m sure it could be calibrated even better as I learn more, but for now I’m a happy laddy.